
Importing personnel cost rate
Personnel cost rate, also known as labour or staff cost rate, is managed in the Financial Profile at each participant in the "Participants" section.
For one participant you can set as many personnel cost rates as needed. Rates can be work-specific (e.g. "researcher"), person-specific (e.g. "John Miller"), or an average of personnel cost rates for the participant - whichever is more relevant to your needs.
If you have already a list of personnel cost rates for your participants, you can import them into an EMDESK workspace.
Note:
- To run the import, you must have Manage access rights to the "Participants" section or to the respective participant (see "Roles, access levels, and access rights"), also the current plan version must be in the Edit mode (see "Manage workspace plan versions").
- Before running the import, make sure that at all the participants you'd like to import personnel cost rates for are already created in your workspace (read further how to create a participant).
Follow the instructions below on how to import personnel cost rates into an EMDESK workspace.
- 1
-
To import personnel cost rates, prepare your data file for importing:
- The file must be in the XLSX format, max. 2 MB and max. 1,000 rows. All visible sheets of the file are imported (find more technical file requirements here)
- The XLSX file must contain required columns with the following headers:
Participant Name* Provide the name of a participant to whom the rate applies – enter the exact ID, short name, or name of the participant as defined in the "Participant" section of your workspace, e.g. P1, BWE, or Wayne Enterprises
Name Provide the name of the personnel cost rate, e.g. Wayne Enterprises Avg. Cost Rates, Project Managers Rate, Jana Rouge Salary Year 1 Rate Enter the personnel cost rate, the following number formats are supported: 1000,00; 1000.00; or 1.000,00
* value must exist in your workspace, imported record is assigned to the first found item with this value- The XLSX file can also contain additional information in the following optional columns:
Description Description for the personnel rate Hours a day Enter the amount of hours a day; if not set, default is 8 Days a month Enter the amount of days a month; if not set, default is 22 Unit Set the unit of the rate to PH (person-hour), PD (person-day), or PM (person-month); if not set, default is PM Default Set "yes"/"no", "true"/"false", or "1"/"0" for one rate per participant to set this rate as default is budget Set "yes"/"no", "true"/"false", or "1"/"0" for the personnal cost rate to define if the rate should be applied for budget items Budget valid from Set the date from when the personnel cost rate should be applied for the budget items (format: YYYY-MM-DD) Budget valid until Set the date until when which the personnel cost rate should be applied for the budget items (format: YYYY-MM-DD) is expense Set "yes"/"no", "true"/"false", or "1"/"0" for the personnal cost rate to define if the rate should be applied for expense entries Expense valid from Set the date from when which the personnel cost rate should be applied for the expense entries (format: YYYY-MM-DD) Expense valid until Set the date until when which the personnel cost rate should be applied for the expense entries (format: YYYY-MM-DD) This is an example of how your data file may look like:

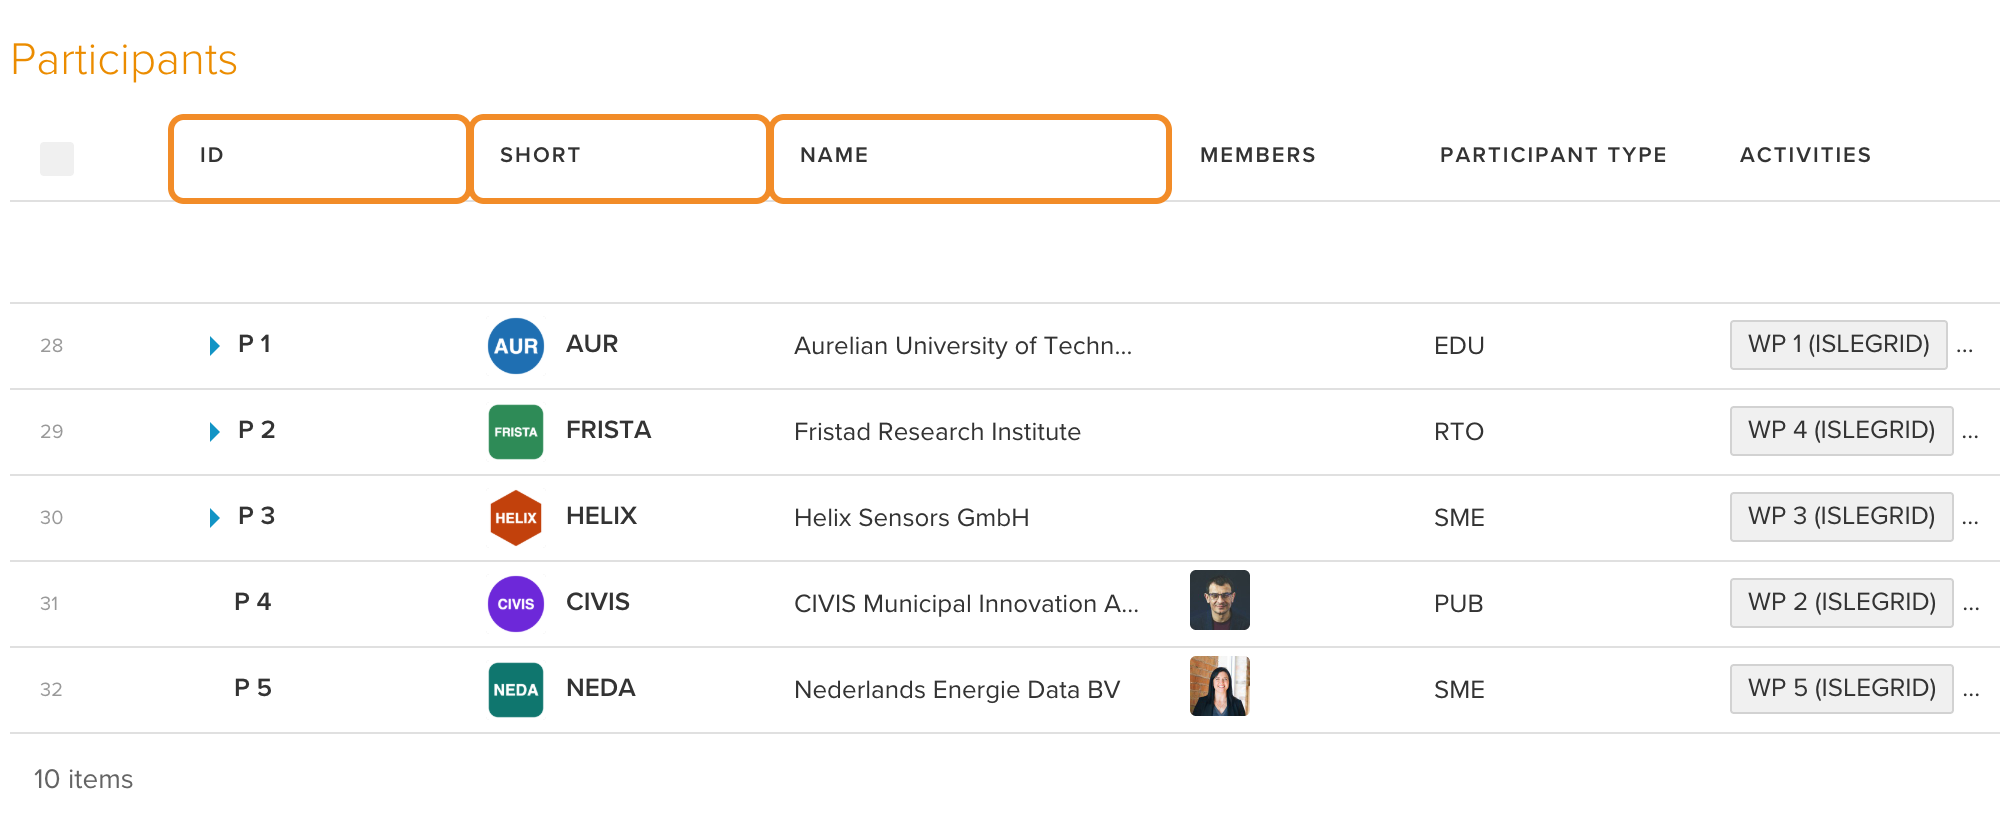
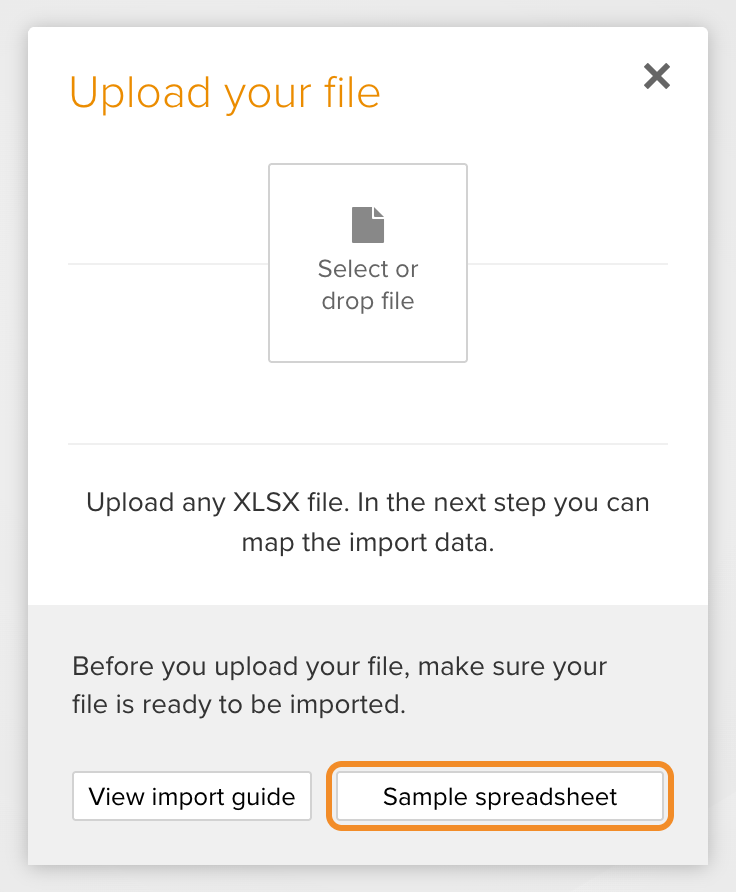
Note: Any hidden rows in the excel file will be recognised for the import and if those rows are not supposed to be imported they must be taken out. Tip: To download a sample Excel file, go to the "Participants" section, click the drop down menu at the "+ Import" button, choose Personnel cost rates, and then click the "Sample spreadsheet" button:
- 2
-
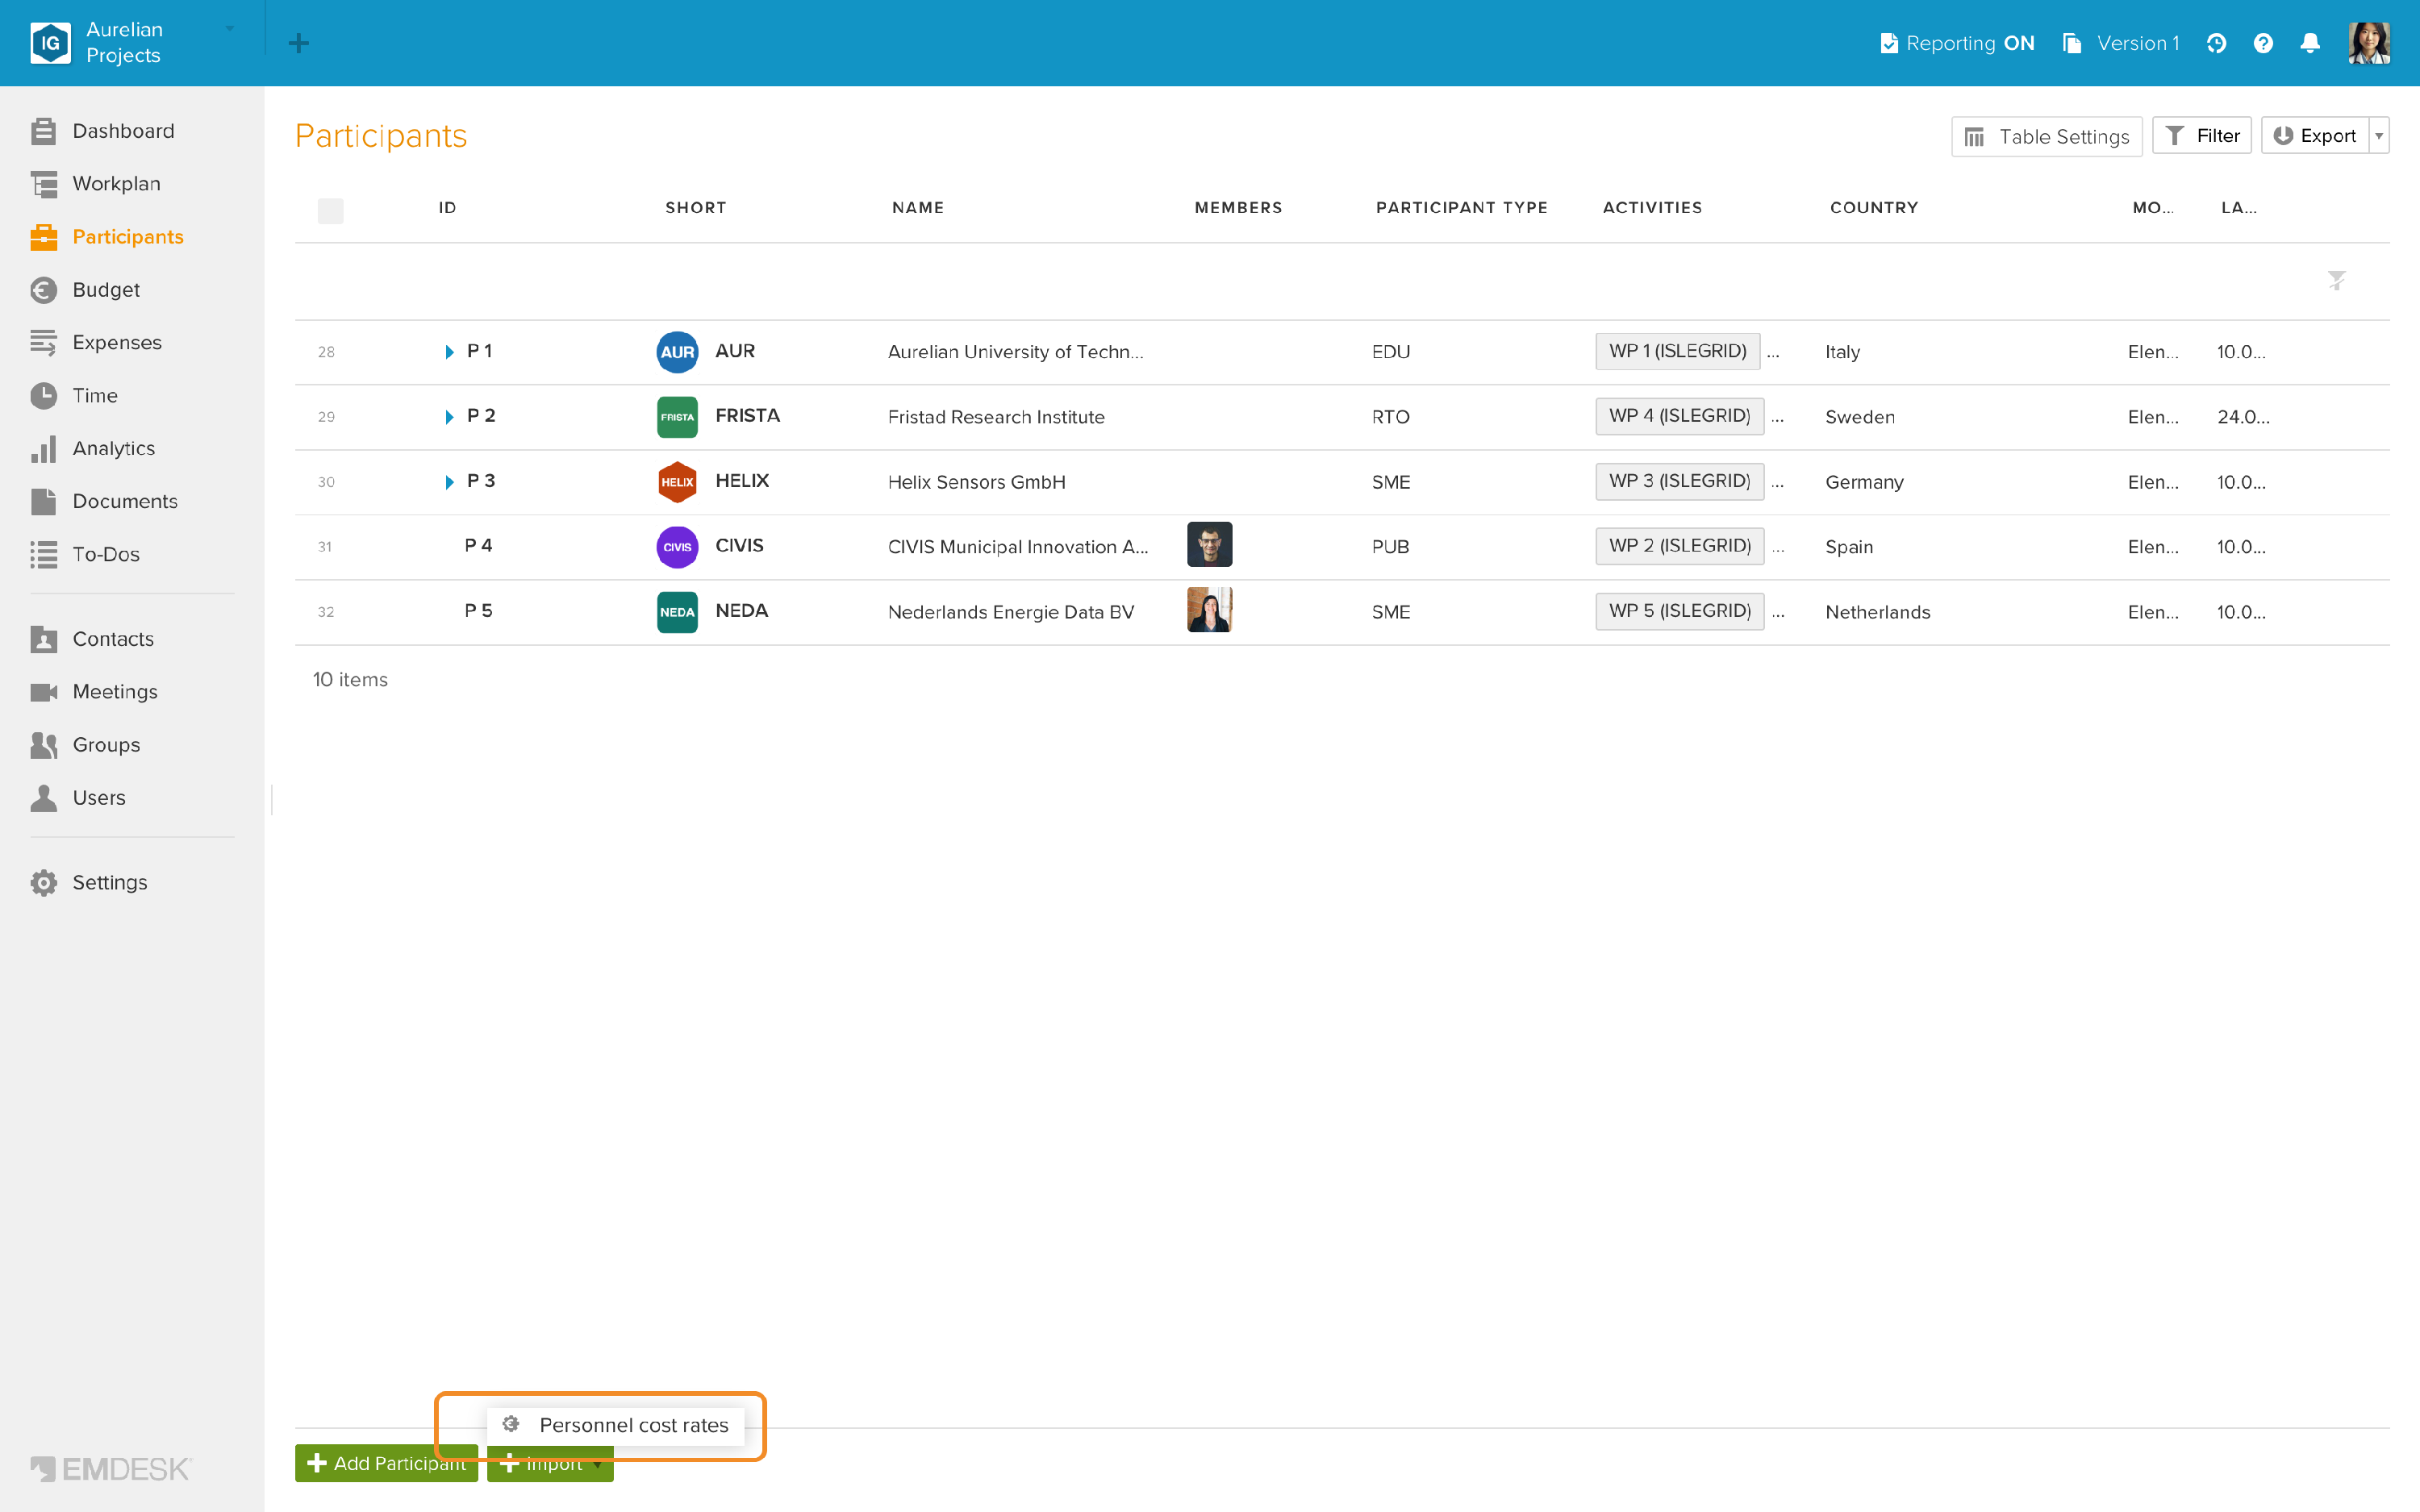
When the file is ready to be imported, click Participants in the main menu to open the "Participants" section.
- 3
-
Click the drop down menu at the "+ Import" button and then choose Personnel cost rates, this will open the "Upload your file" dialogue box.
- 4
-
Click on the "Select or drop file" area to upload the file from your computer or simply drag and drop the file into this area.
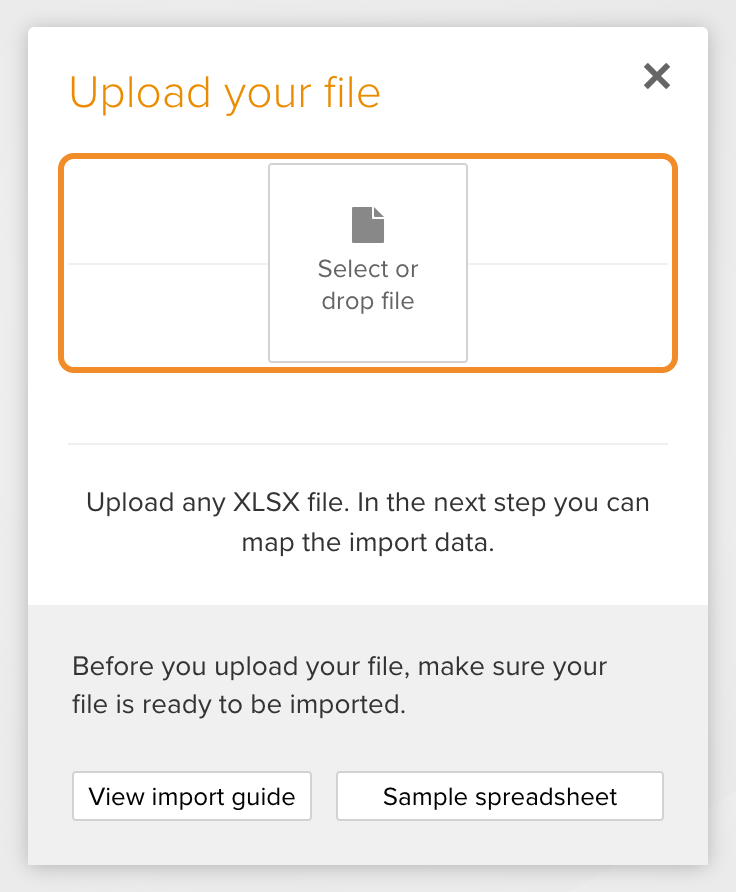
Note: The import only supports XLSX files. - 5
-
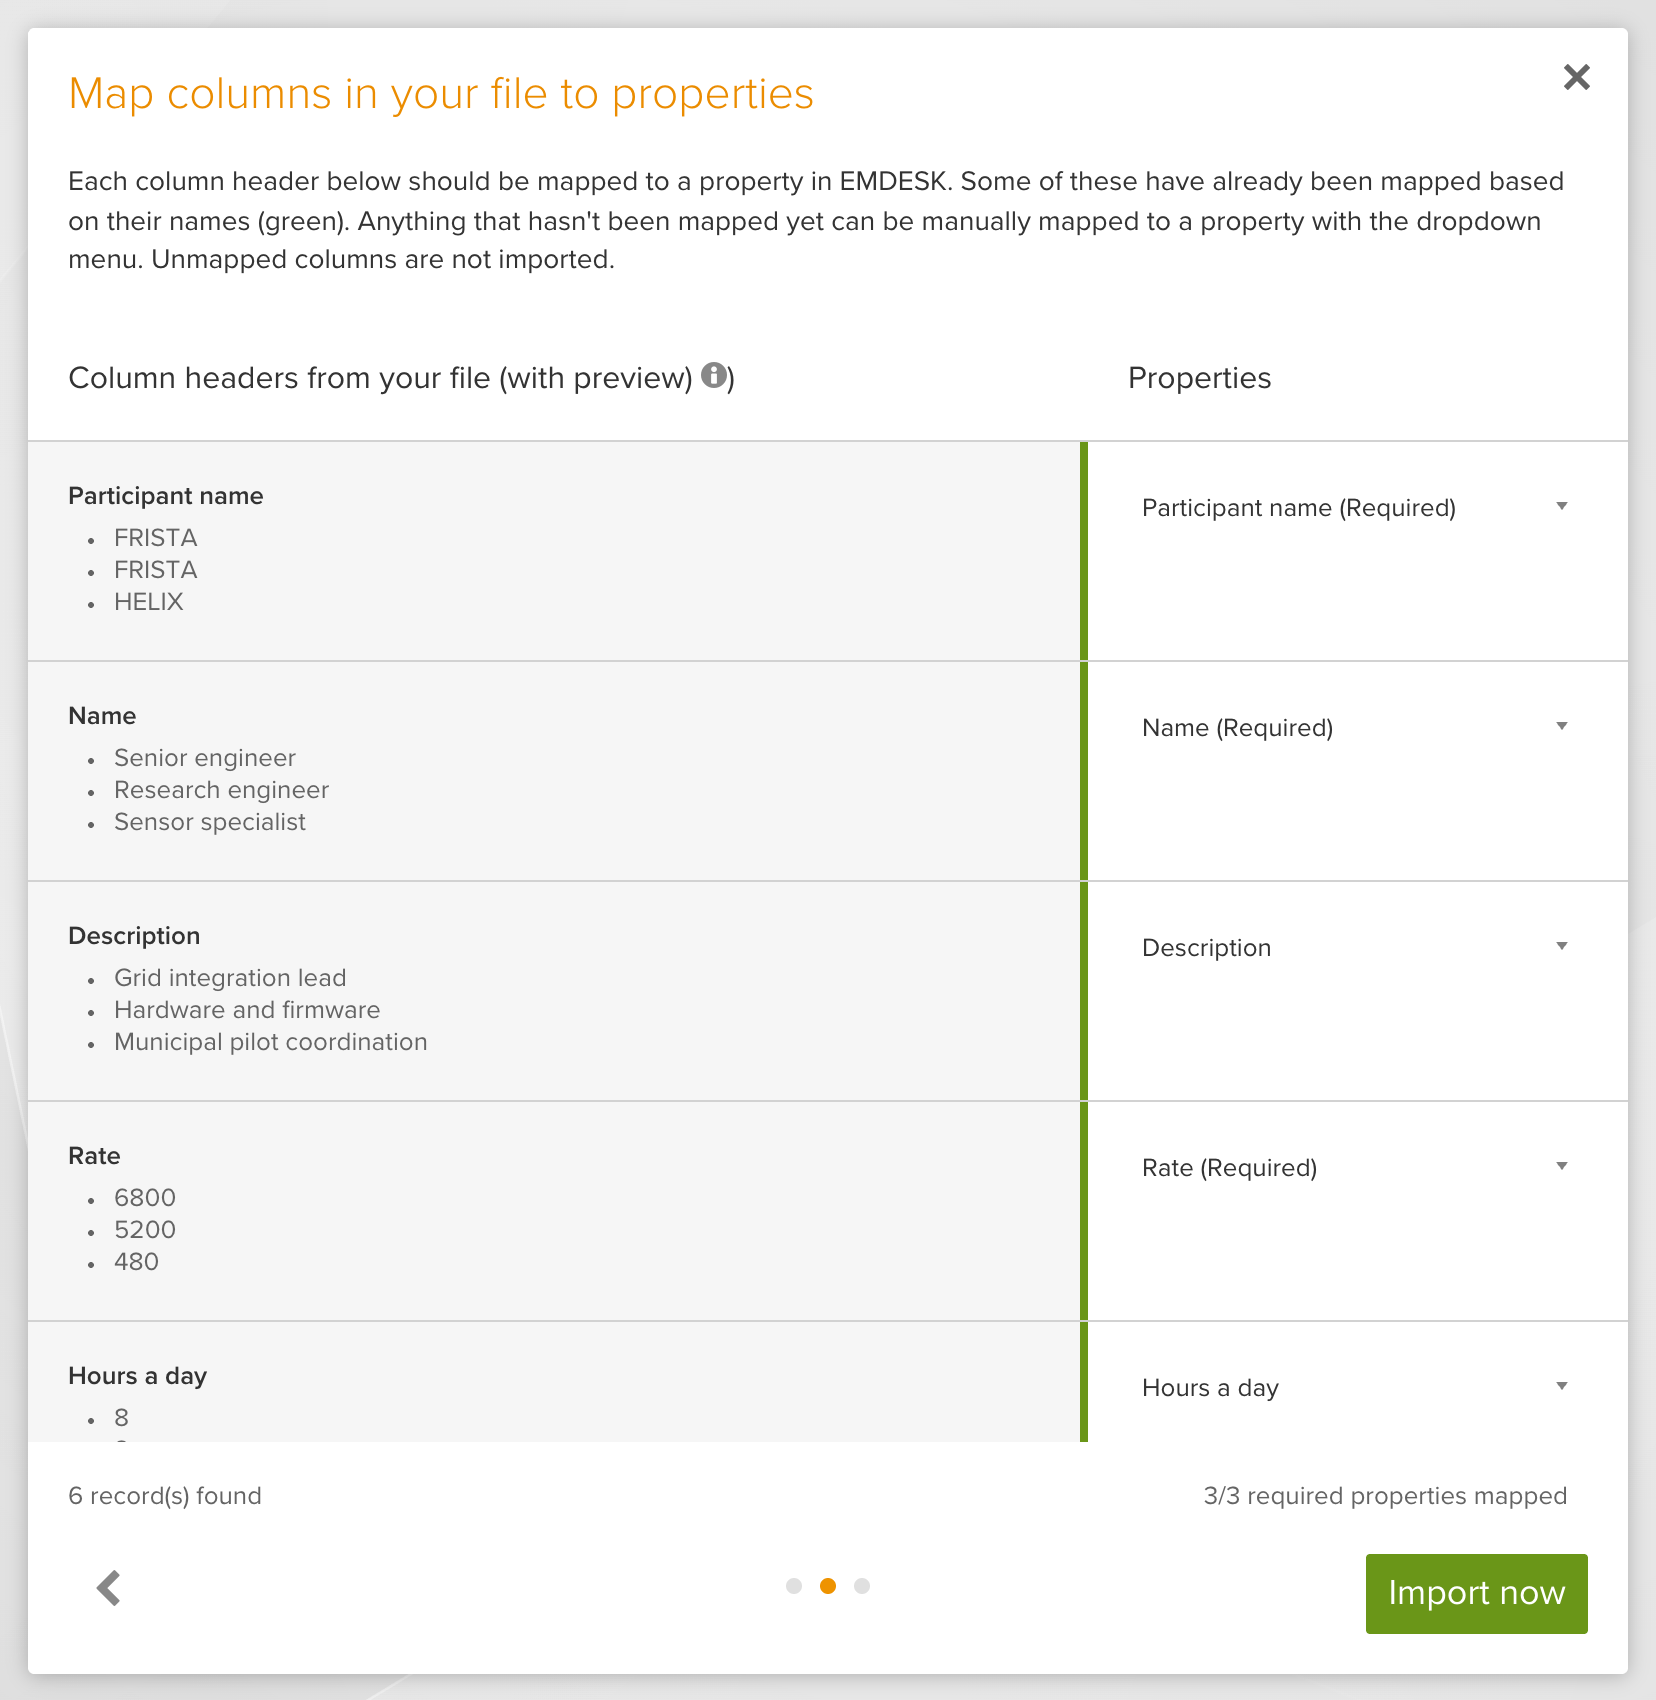
Map column headers from your file to the personnel cost rates properties in the appeared window.
- Some of the columns may be already mapped based on their names, these are marked as green:
- To map the other columns, click the dropdown menu on the right and choose the respective property:
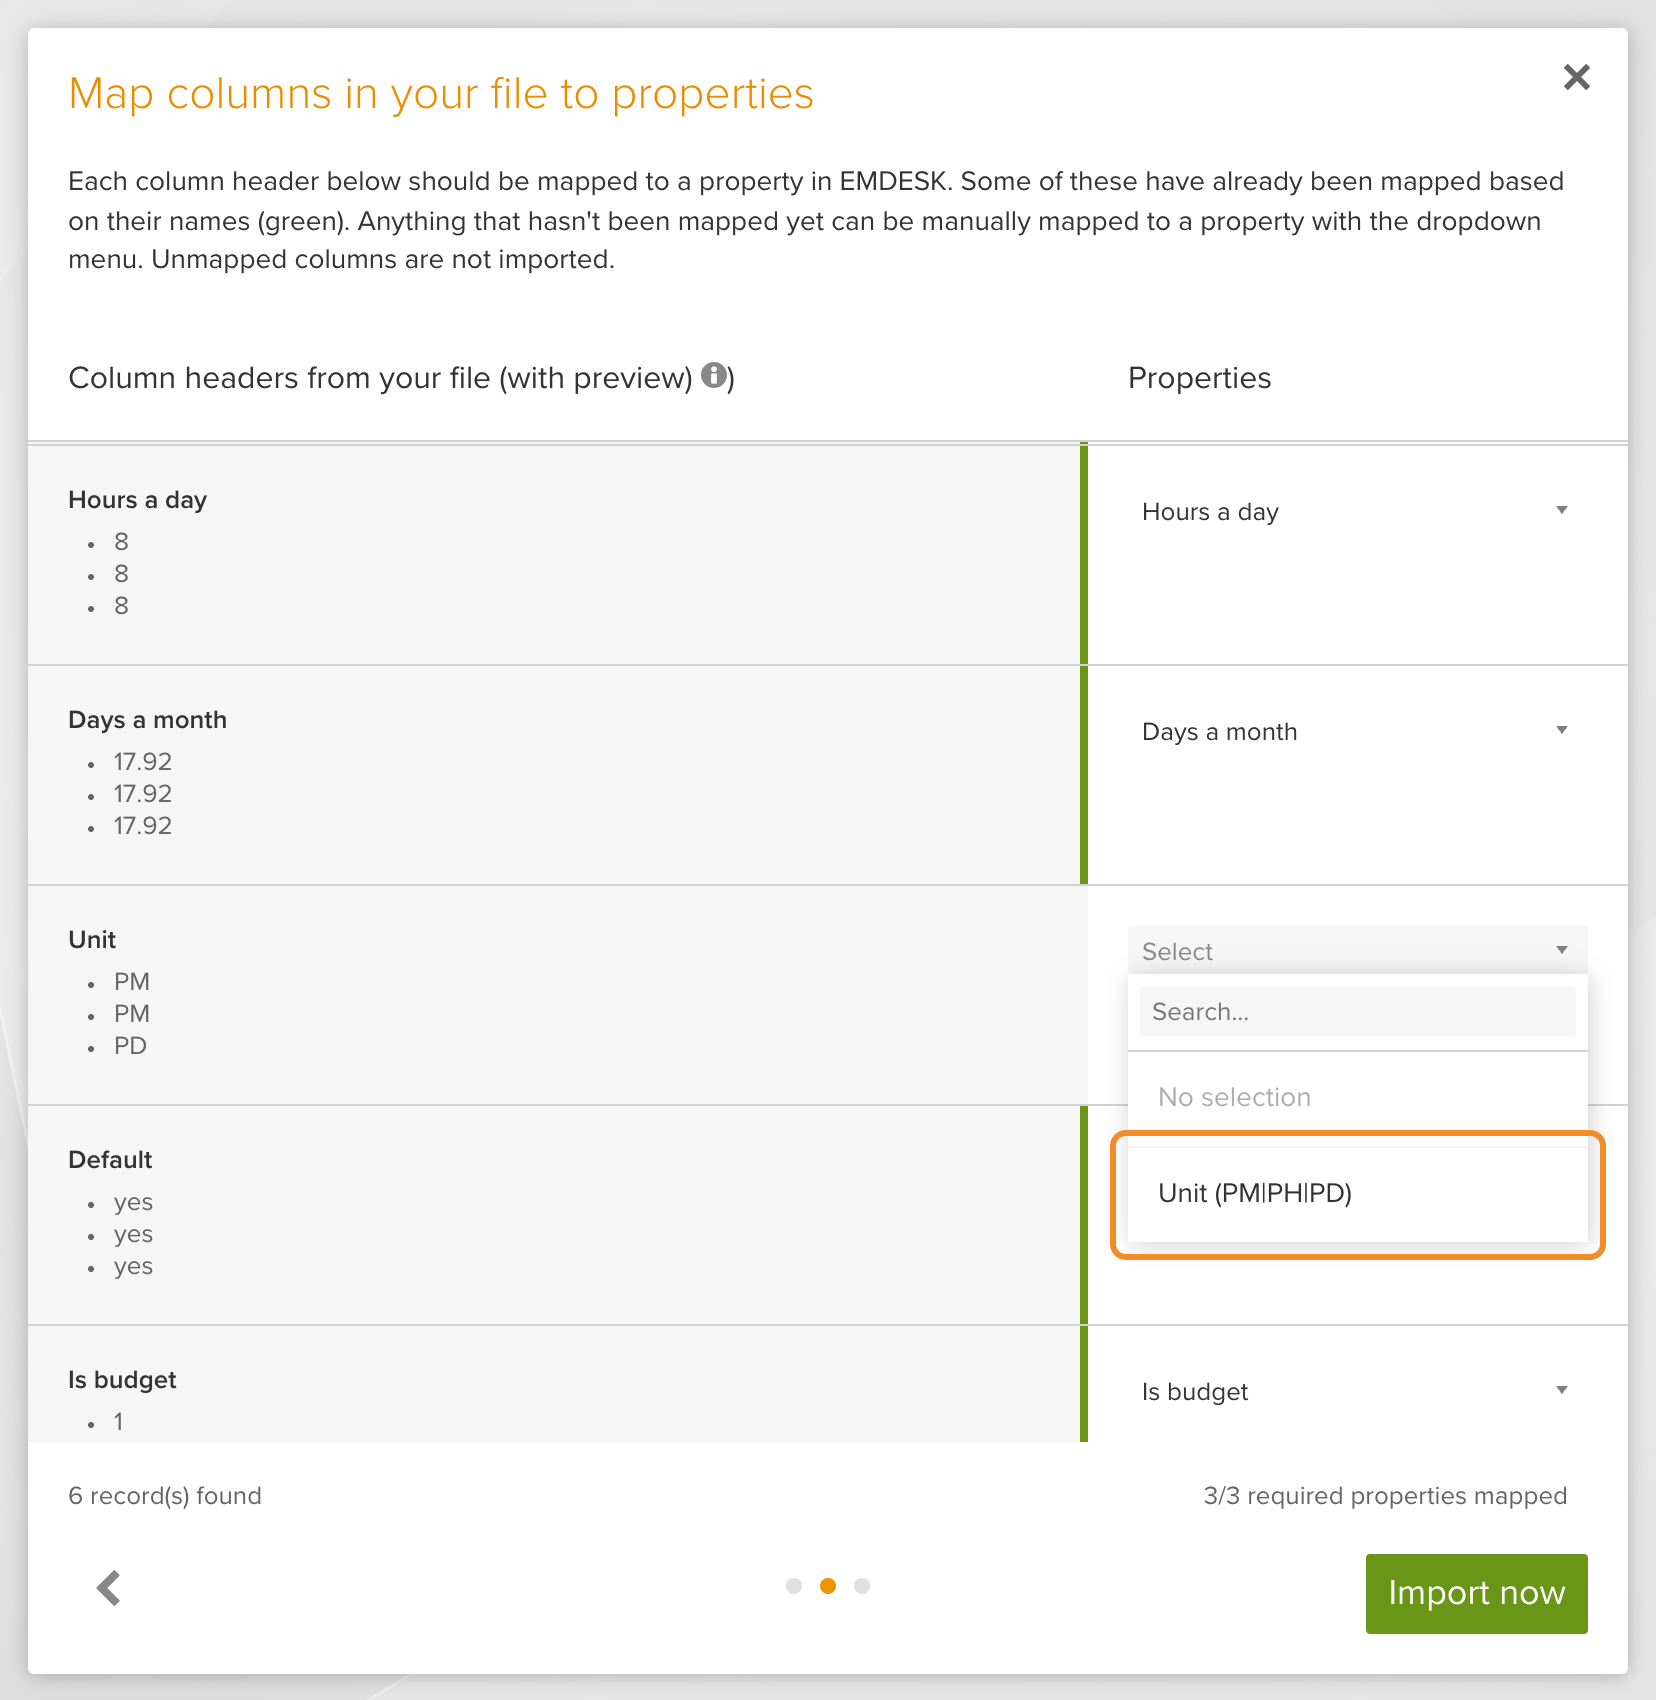
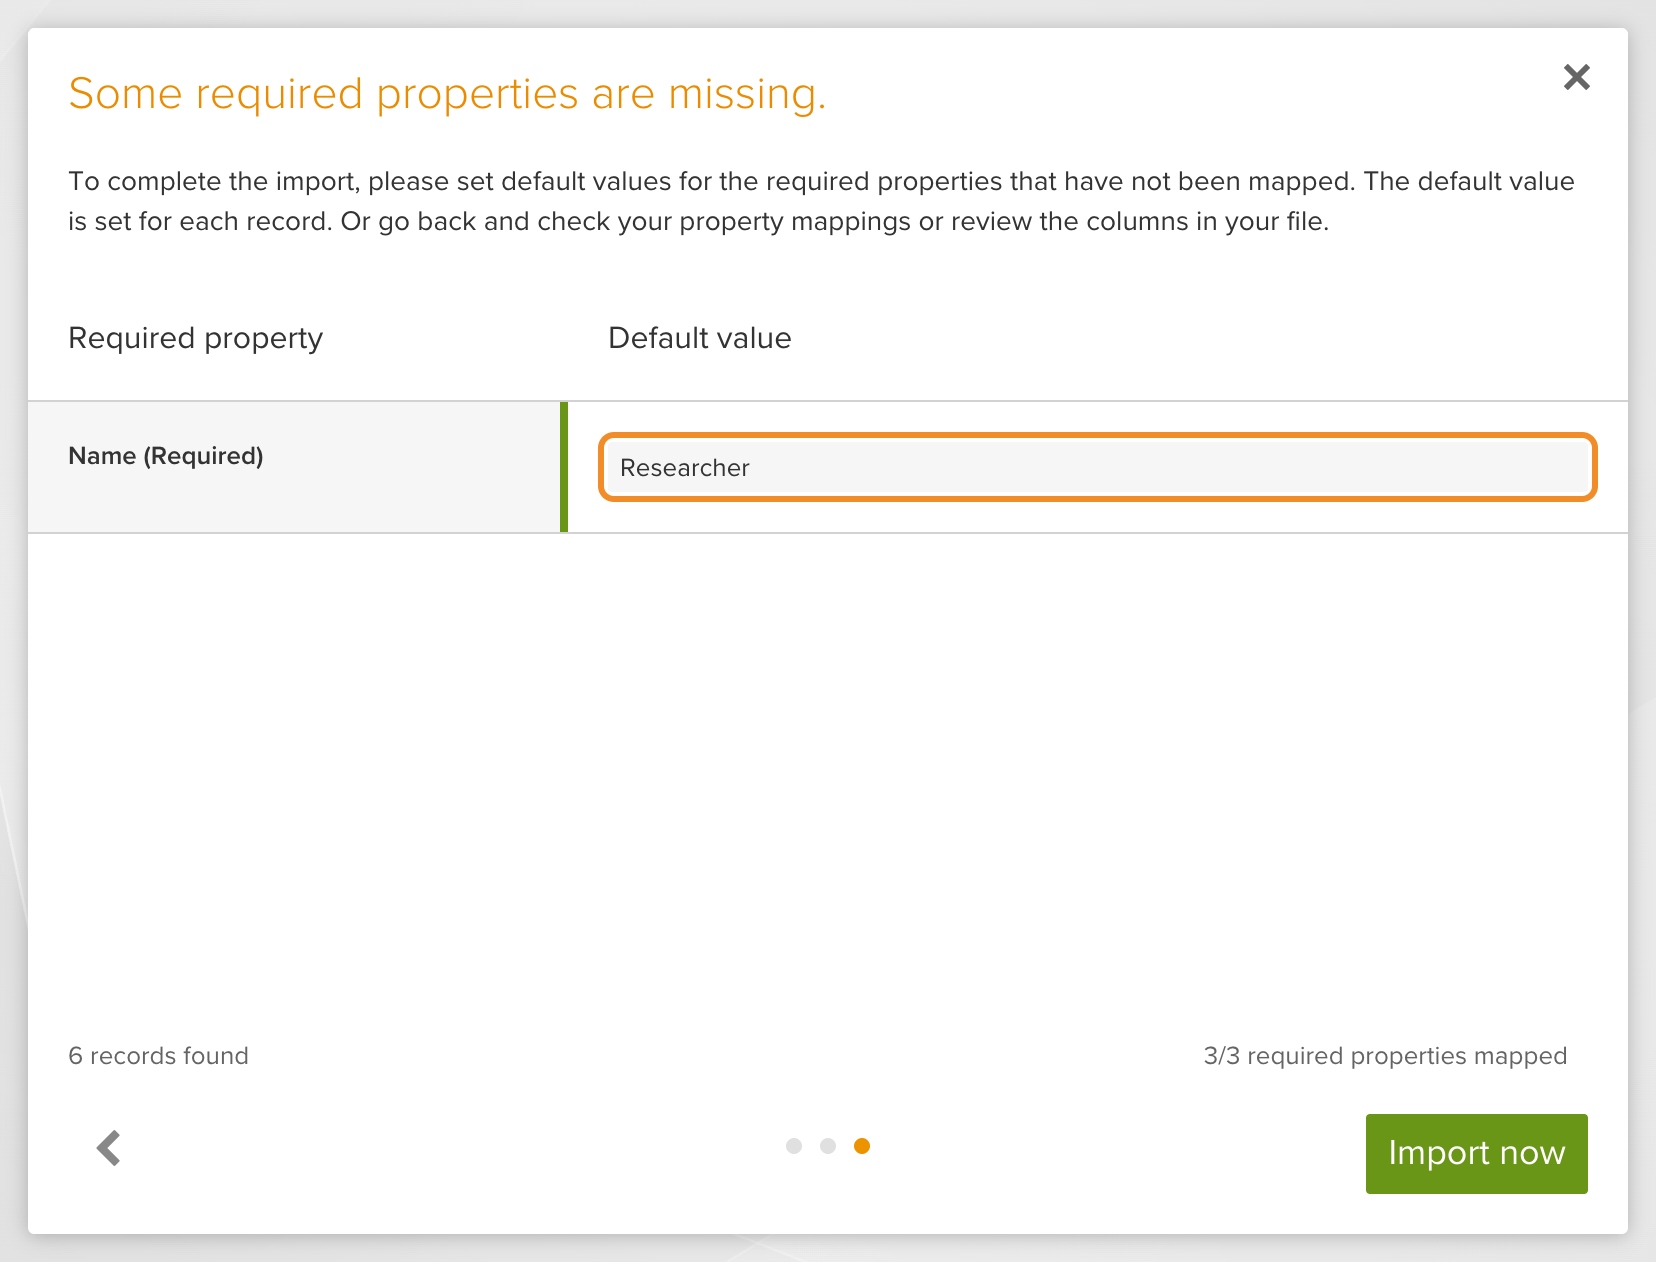
Note: Columns that are not mapped will not be imported into the workspace. Tip: For the required properties, you can also enter default values that will be set during import for each personnel cost rate imported from the file. For that, do not map these properties with any of the columns – instead, click Next and enter the default value next to the relevant property or choose the option from the dropdown list:
- 6
-
Click Import now at the bottom of the window.
- If import is completed without any problems, a green message will appear meaning that all records in your file were successfully recognised:

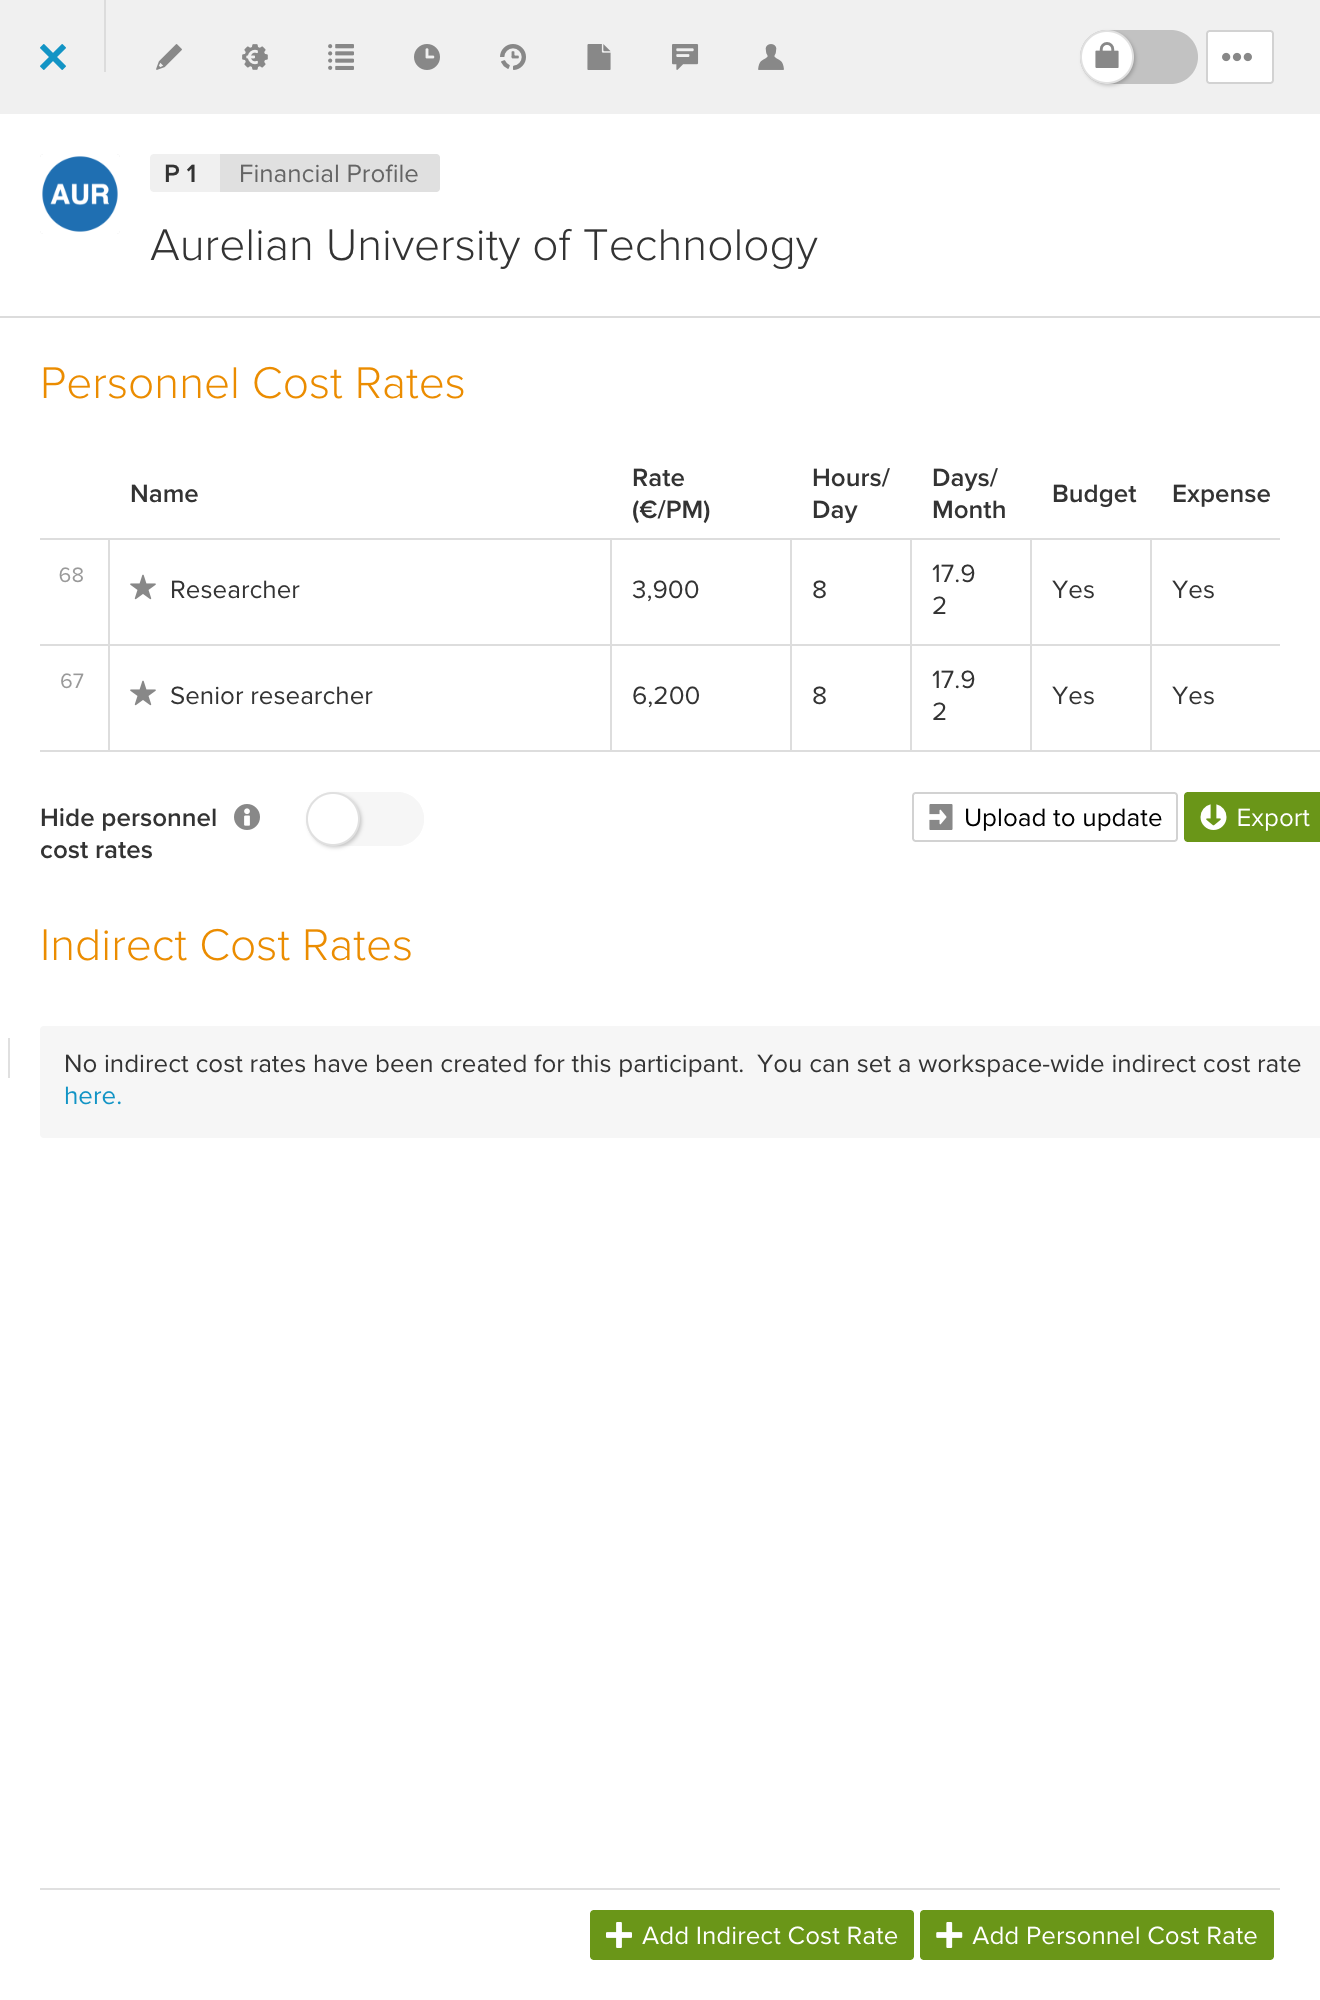
The imported personnel cost rates are added into the Financial Profile of each participant mentioned in the import file, for example:
- If import is completed with some problems, an orange message will appear meaning that not all records in your file were recognised (values for properties were not in the correct format or were not able to be matched with existing records) and stating that an error file was downloaded:

The error file contains only those personnel cost rates that were not imported and indicates with a red colour the error values. Edit the incorrect data and repeat the importing process for this new data until all records are accepted.

- If import is completed without any problems, a green message will appear meaning that all records in your file were successfully recognised:


Note: Read further how to import project activities and events, participants, budget entries, and expenses records into an EMDESK workspace.