
Manage your profiles
Profiles represent the organisations you are part of. You can have several profiles and use a different one for each workspace, for example when you work for different organisations on different projects.
Contents
Updating an existing profileAdding a new profileDefault profile and assigning profiles to workspaces
Updating an existing profile
- Click your picture at the top right and select Profile.
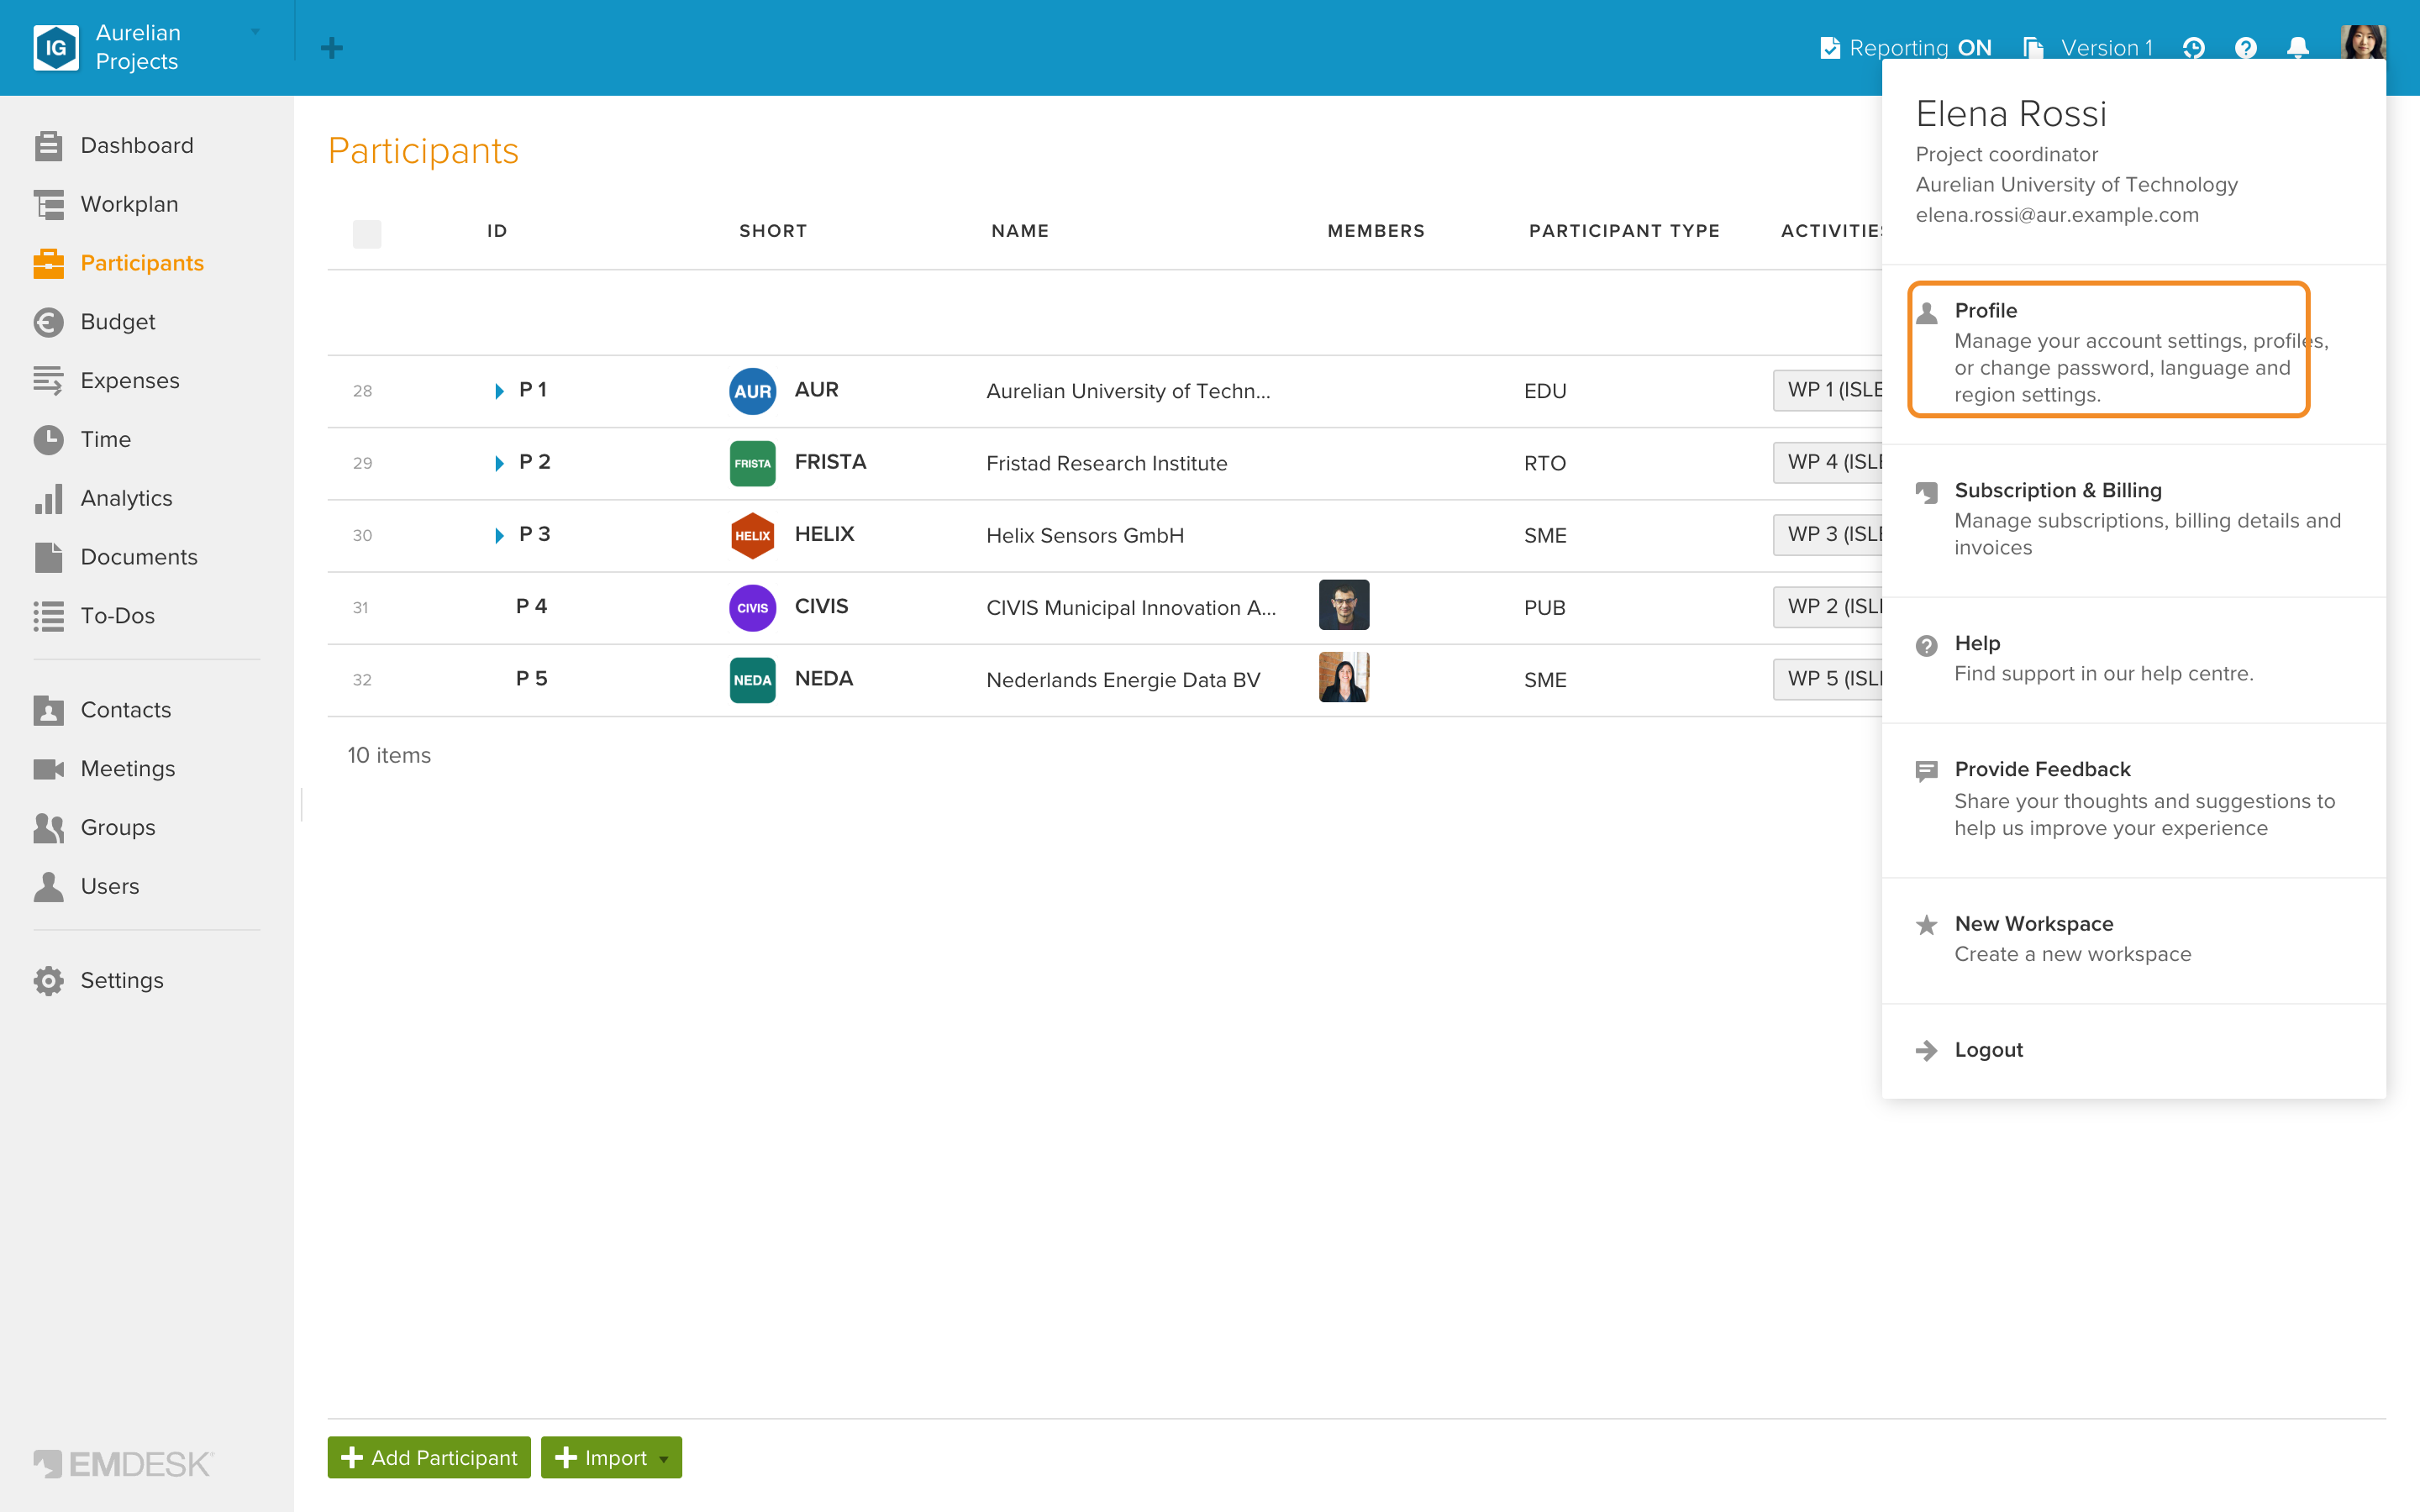
- Scroll to Profiles, click the profile you want to update (or its Edit icon) to open the sidebar.

- Update the organisation name, addresses, your department, position and contact details. You can also set your organisation's size, type and industry, tag specialities, add social media links (Twitter, Facebook, LinkedIn, Skype, Slack) and write a short description.

💡 Note: The Email field is a dropdown of your email addresses; it sets which address receives notifications for workspaces linked to this profile.
- Click Save Profile at the bottom of the sidebar.
Adding a new profile
- Click your picture at the top right and select Profile.
- Scroll to Profiles and click Add Profile at the bottom of the section.

- Fill in the sidebar and click Save Profile. The new profile is added to the list.
You can also link a profile to a Microsoft account with Connect with Microsoft. A Microsoft-linked profile shows a … menu instead of the Edit icon, with the option Disconnect Microsoft Account.
Default profile and assigning profiles to workspaces
One profile is marked Default (star icon). To make another profile the default, click its star.

Each profile shows the workspaces it is used in. To assign a profile to a different workspace, drag the workspace's tile from one profile and drop it onto the profile you want to use instead.
See also: Deleting user profiles and User account settings.