
Customize status workflow
💡 Note: To customize the status workflow, you must be an Admin or a Manager level user (see Roles, access levels, and access rights).
The statuses you choose when reporting progress on projects, activities, and events (for example In Progress or Completed) form your status workflow. It comes from the template selected when the workspace was created, and you can adapt it at any time.
Opening the status workflow
Use one of these ways:
- From the settings: click Settings in the main menu, then Customisation on the left. The page opens at Activity/Event Status.
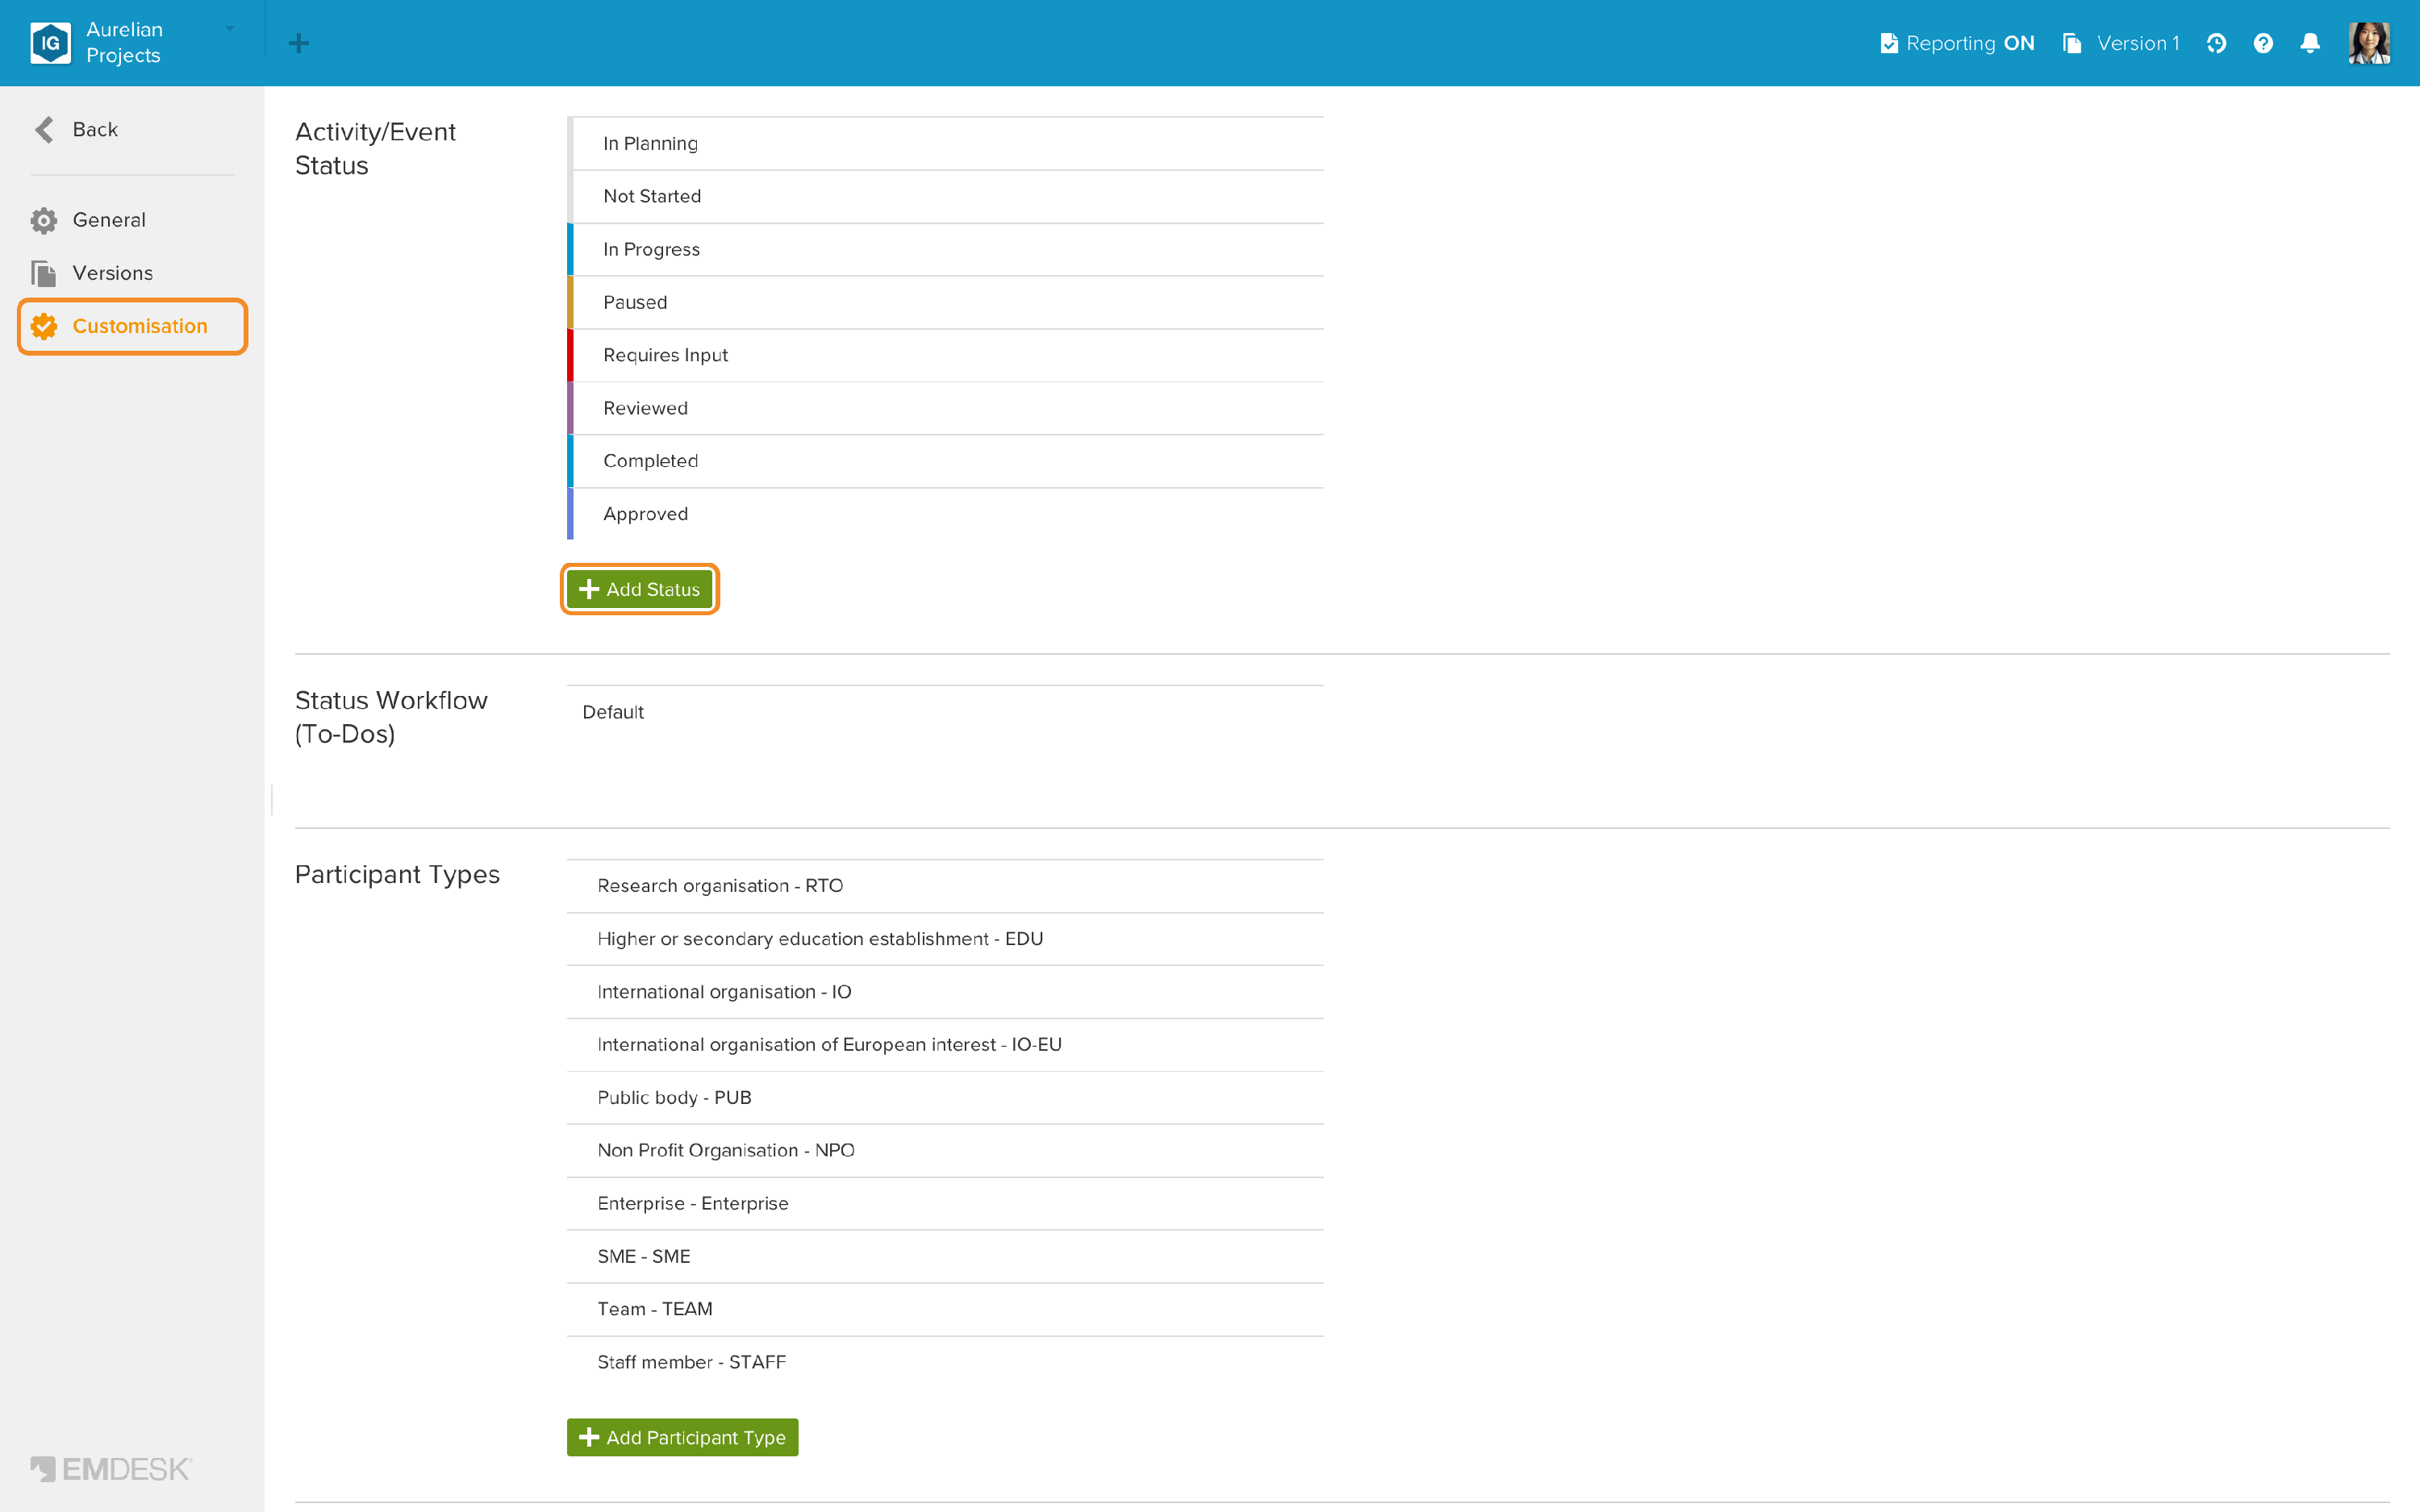
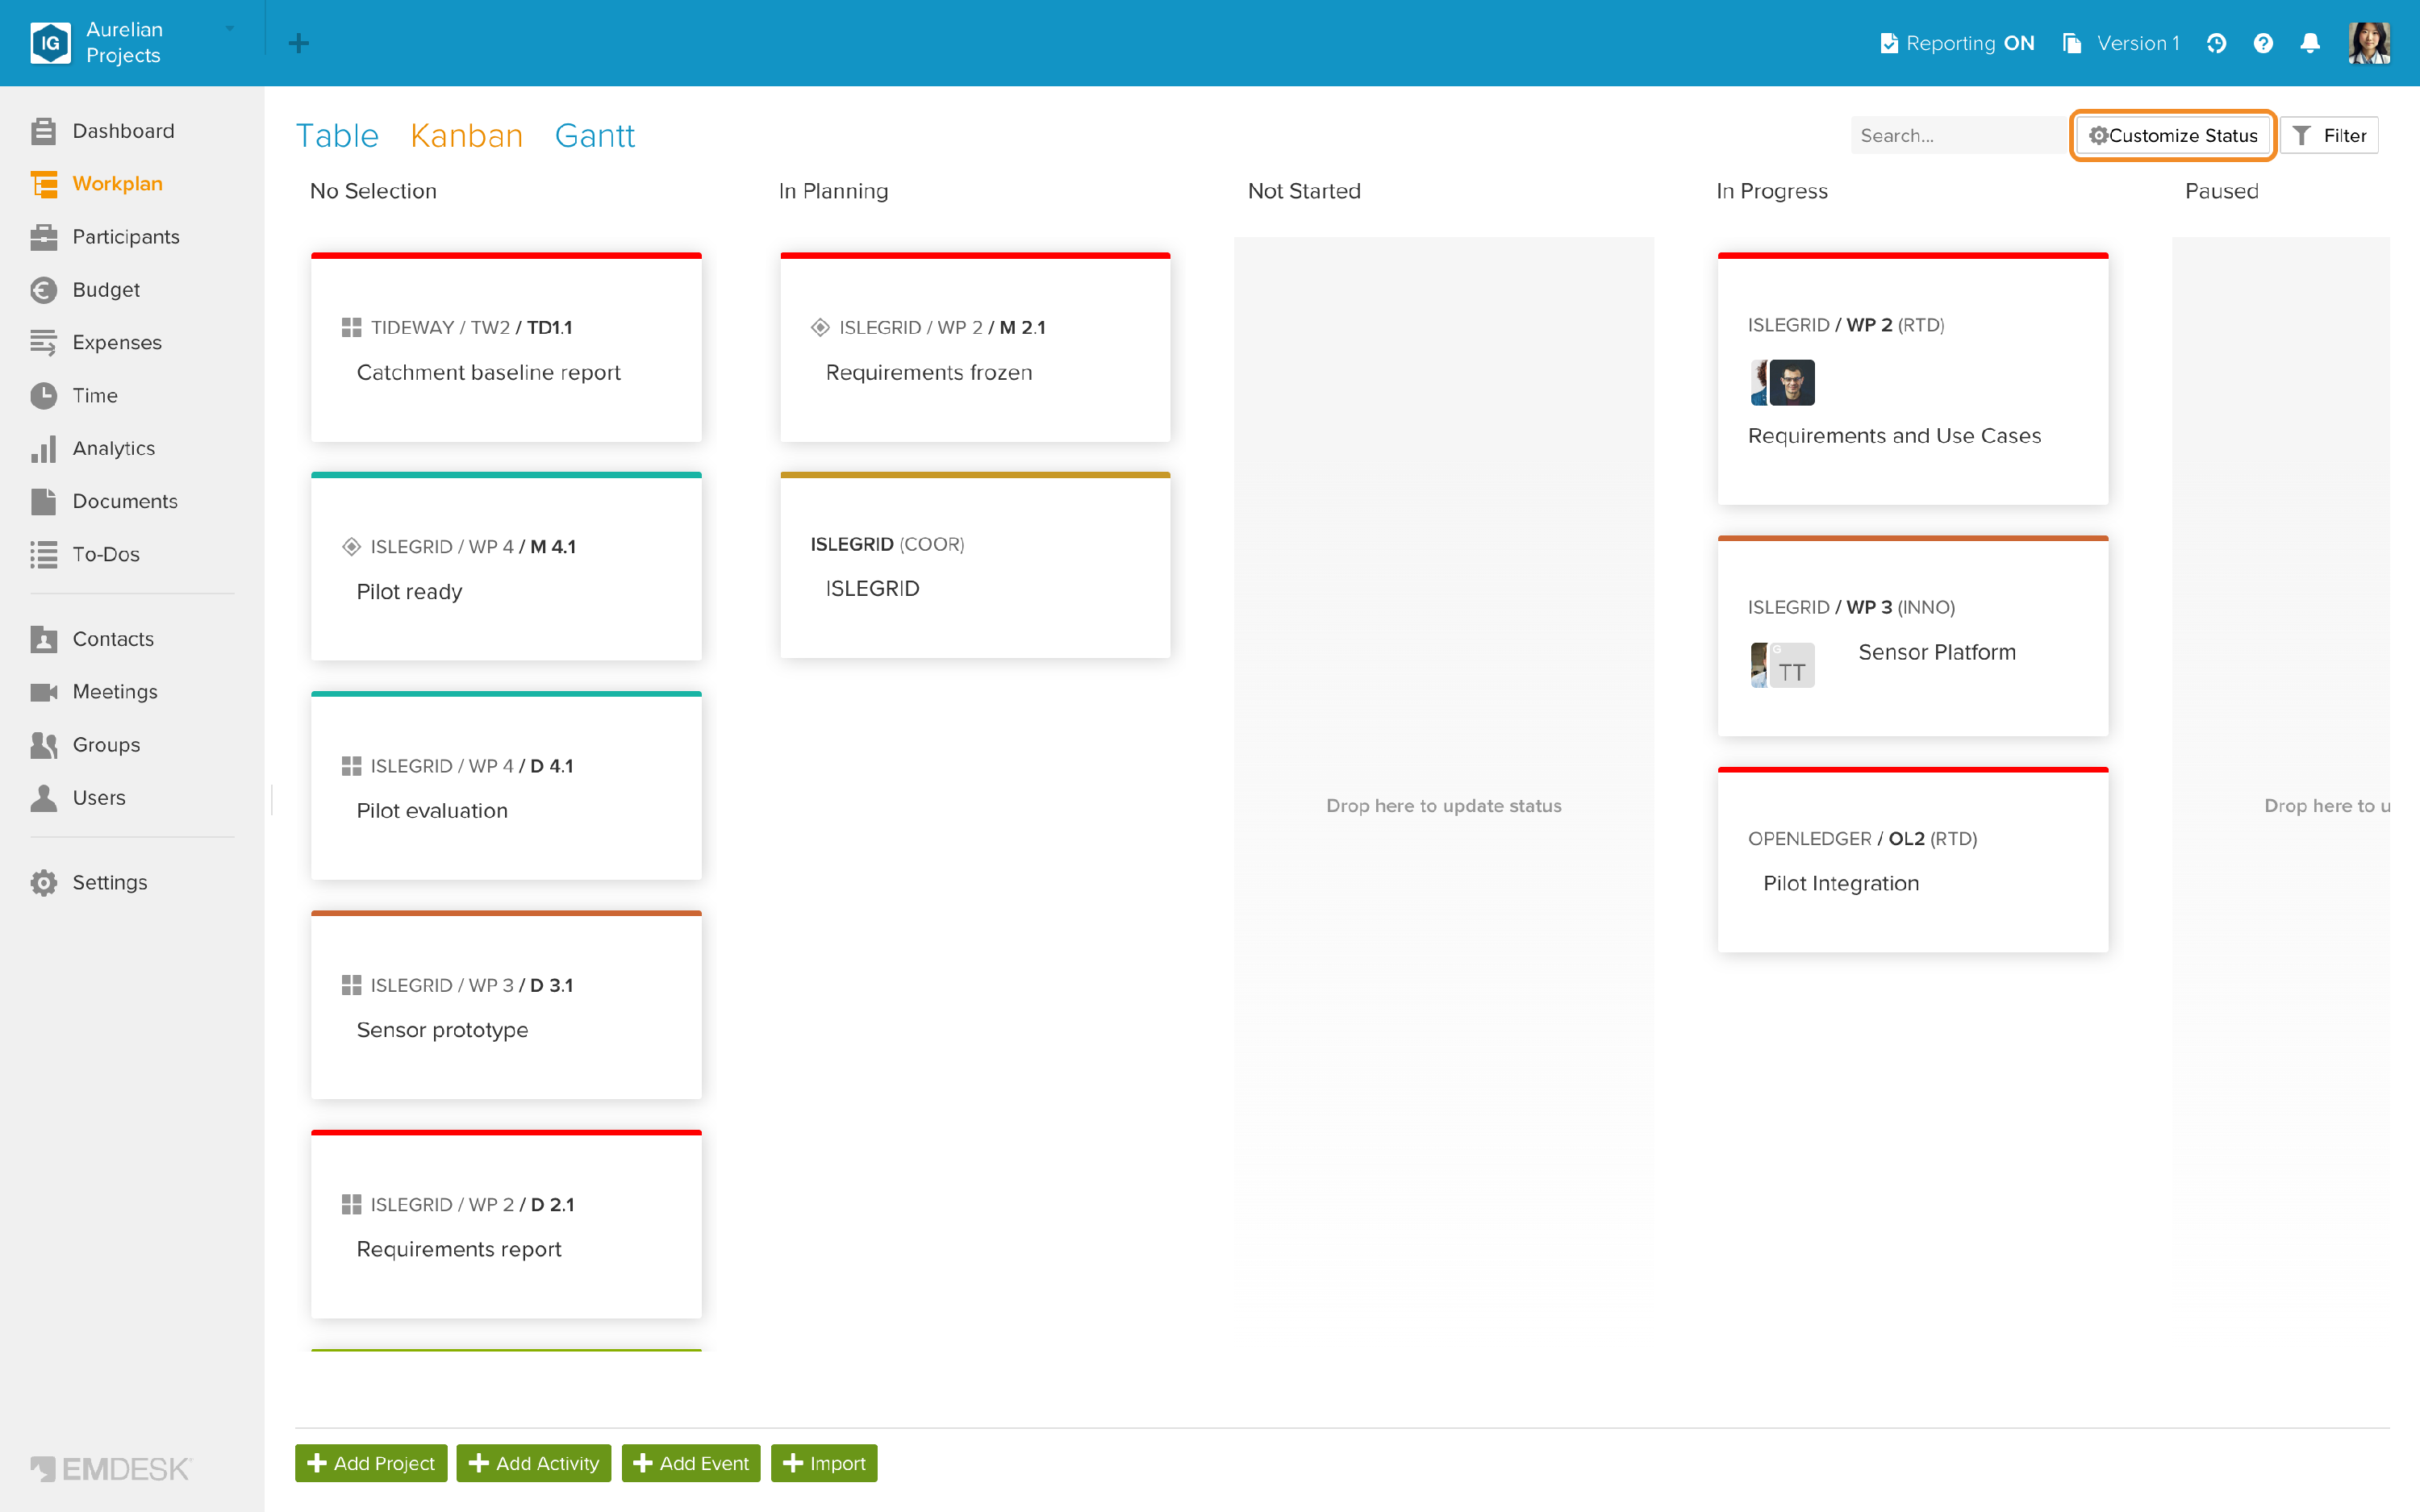
- From the Kanban view: in the Kanban view of the Workplan, click Customize Status at the top right. The Kanban columns follow this list.
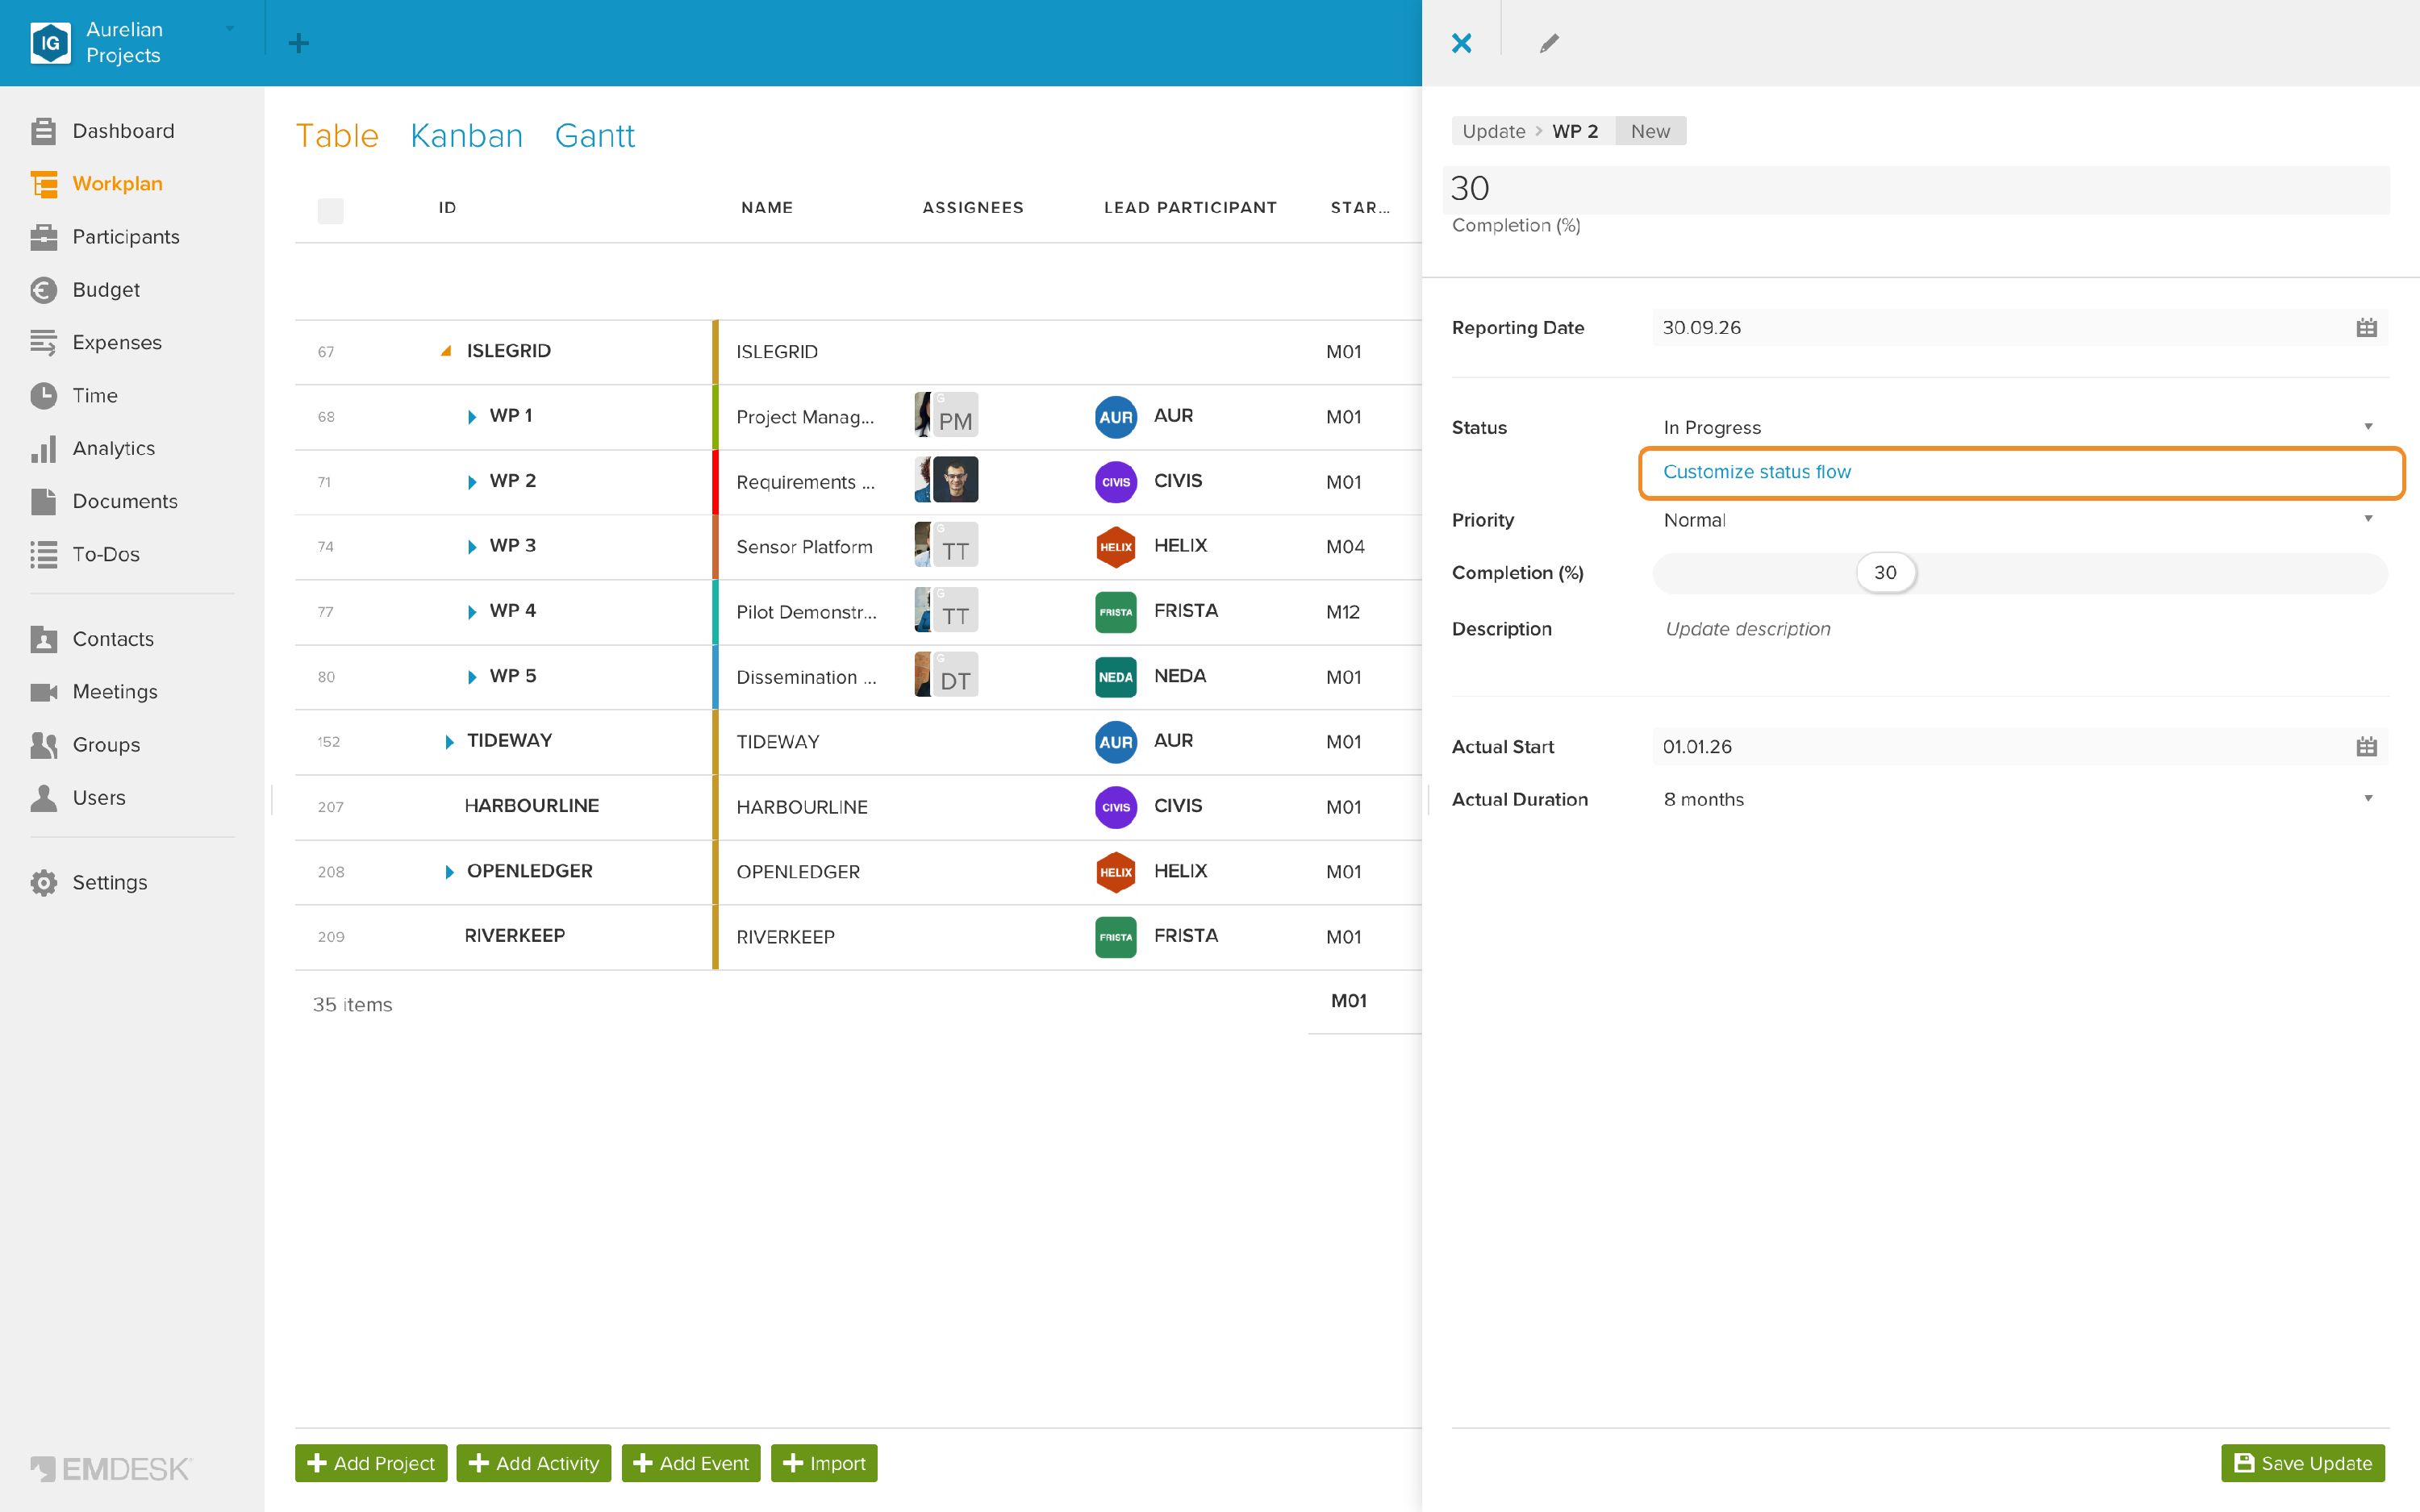
- While reporting progress: in the Update sidebar of a status update, click Customize status flow below the status.
To change the order of the statuses, drag a status up or down in the list. The order is used wherever you choose a status, and for the columns of the Kanban view.
Adding or editing a status
- To add a status, click + Add Status below the list. To edit a status, hover over it and click the Edit icon on the right.

- In the sidebar, enter or change the properties of the status:
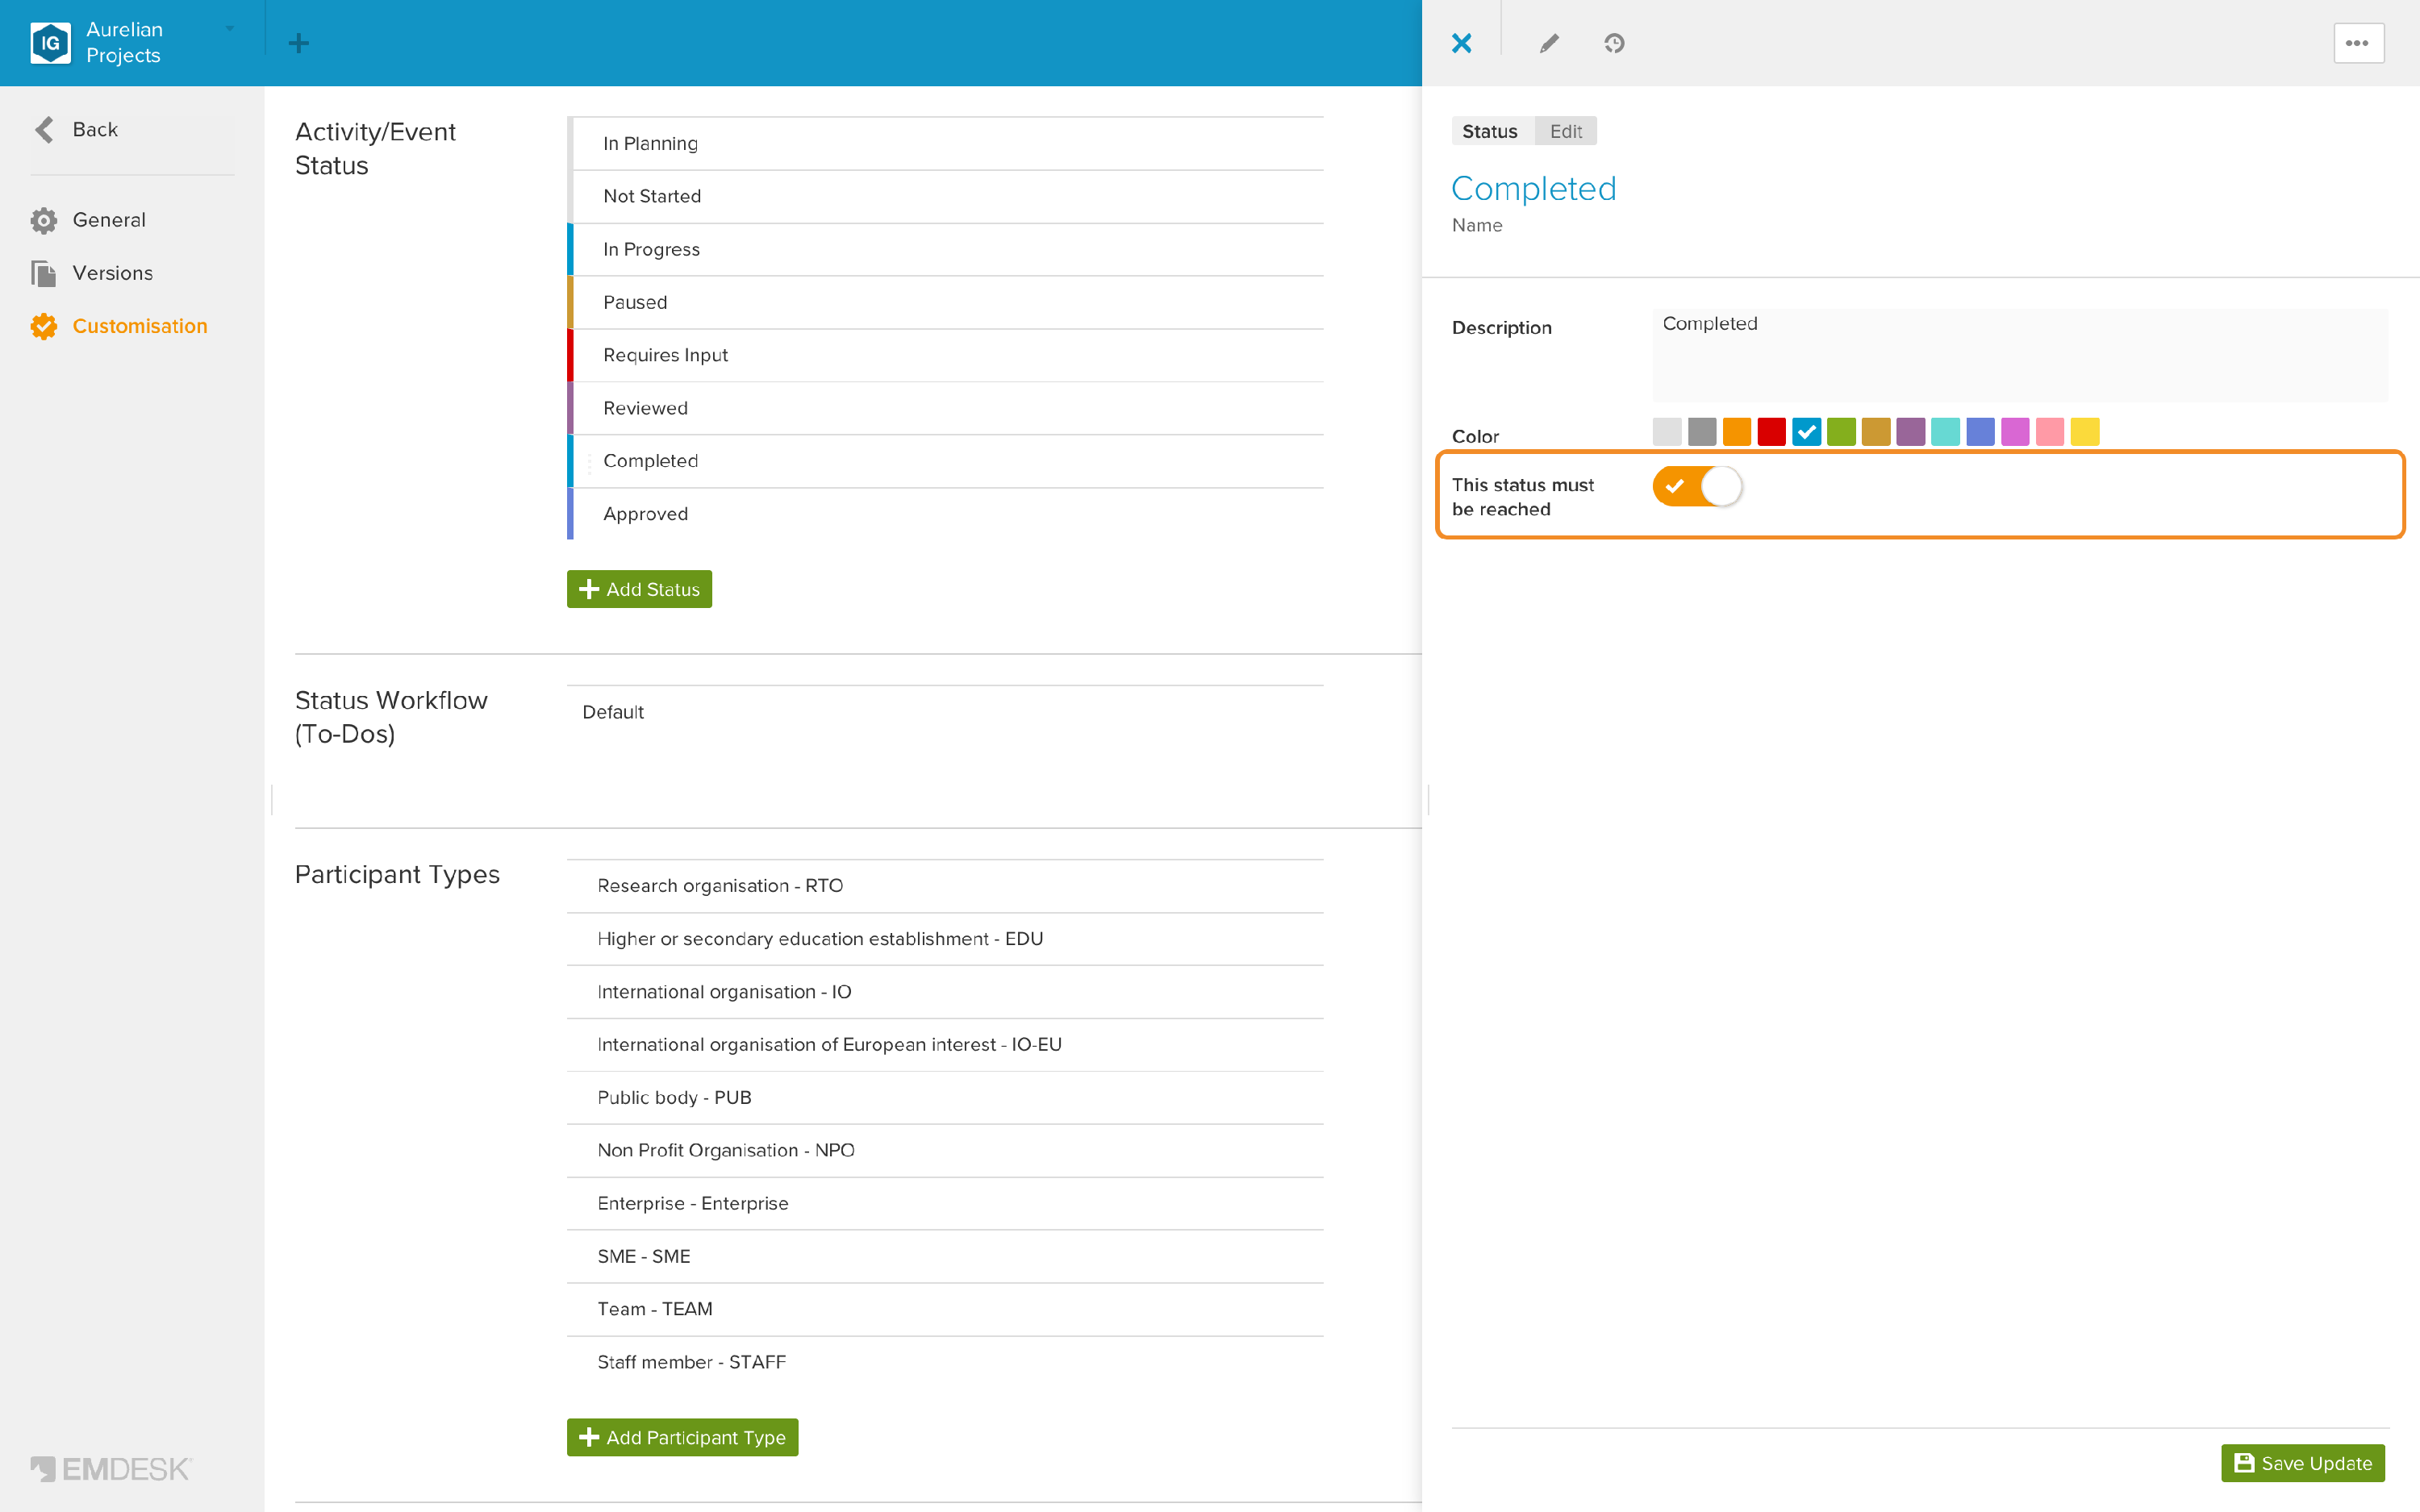
- Name: Click the name at the top to enter or change it.
- Description: Describe when this status should be used.
- Color: The colour shown for this status, for example on the Kanban cards and in the status of an item.
- This status must be reached: Switch this on for statuses that mean the item is finished or achieved, for example Completed or Approved. You can switch it on for more than one status. Items in such a status are shown as on schedule (green completion bar), whatever their dates (see what the colour of the completion bar means).
- Click Save Update at the bottom of the sidebar.
💡 Tip: To delete or duplicate an existing status, open it and click the … button at the top right of the sidebar. If status updates still use this status, EMDESK first asks which other status they should get.